


Want to build a website but don’t know where to start? With Hostinger’s AI-powered Website Builder, you can create a professional, mobile-ready site in under 15 minutes—even if you have no experience. This complete step-by-step guide will show you how to sign up, choose a plan, design your site, customize content, connect your domain, set up email, and even launch an online store. Whether you’re a freelancer, business owner, or blogger, this tutorial is designed for anyone who wants a fast, reliable, and user-friendly website-building experience. Let’s walk you through how to build a website with Hostinger—fast, easy, and optimized for Google.
🚀 Getting Started with Hostinger: Registration and Plan Selection
The very first step in your website journey is to sign up for Hostinger. To give you a head start, there is a special discount link available that offers an additional 10% off your Hostinger plan. You can use the link here.
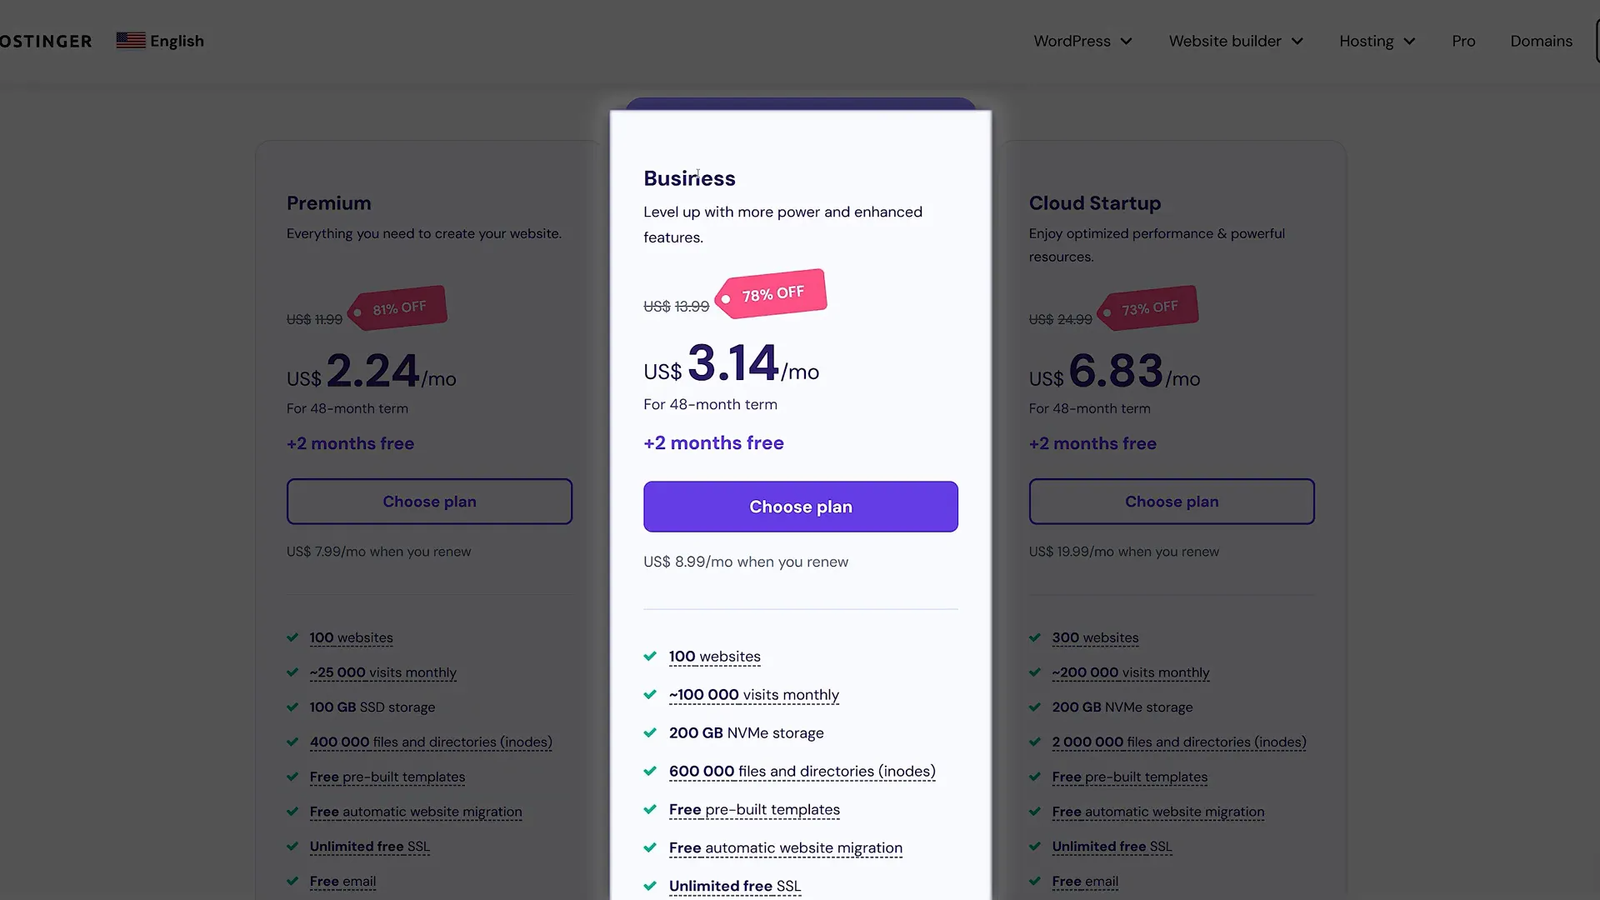
Once registered, you will need to select a plan. For those who want the best performance and access to eCommerce features, the Business Plan is highly recommended. However, if budget is a concern, the Premium Plan is also a solid choice for simpler websites.
After choosing your plan and completing registration, proceed to the setup page where you’ll click on “Create a Website” to start building your site from scratch.
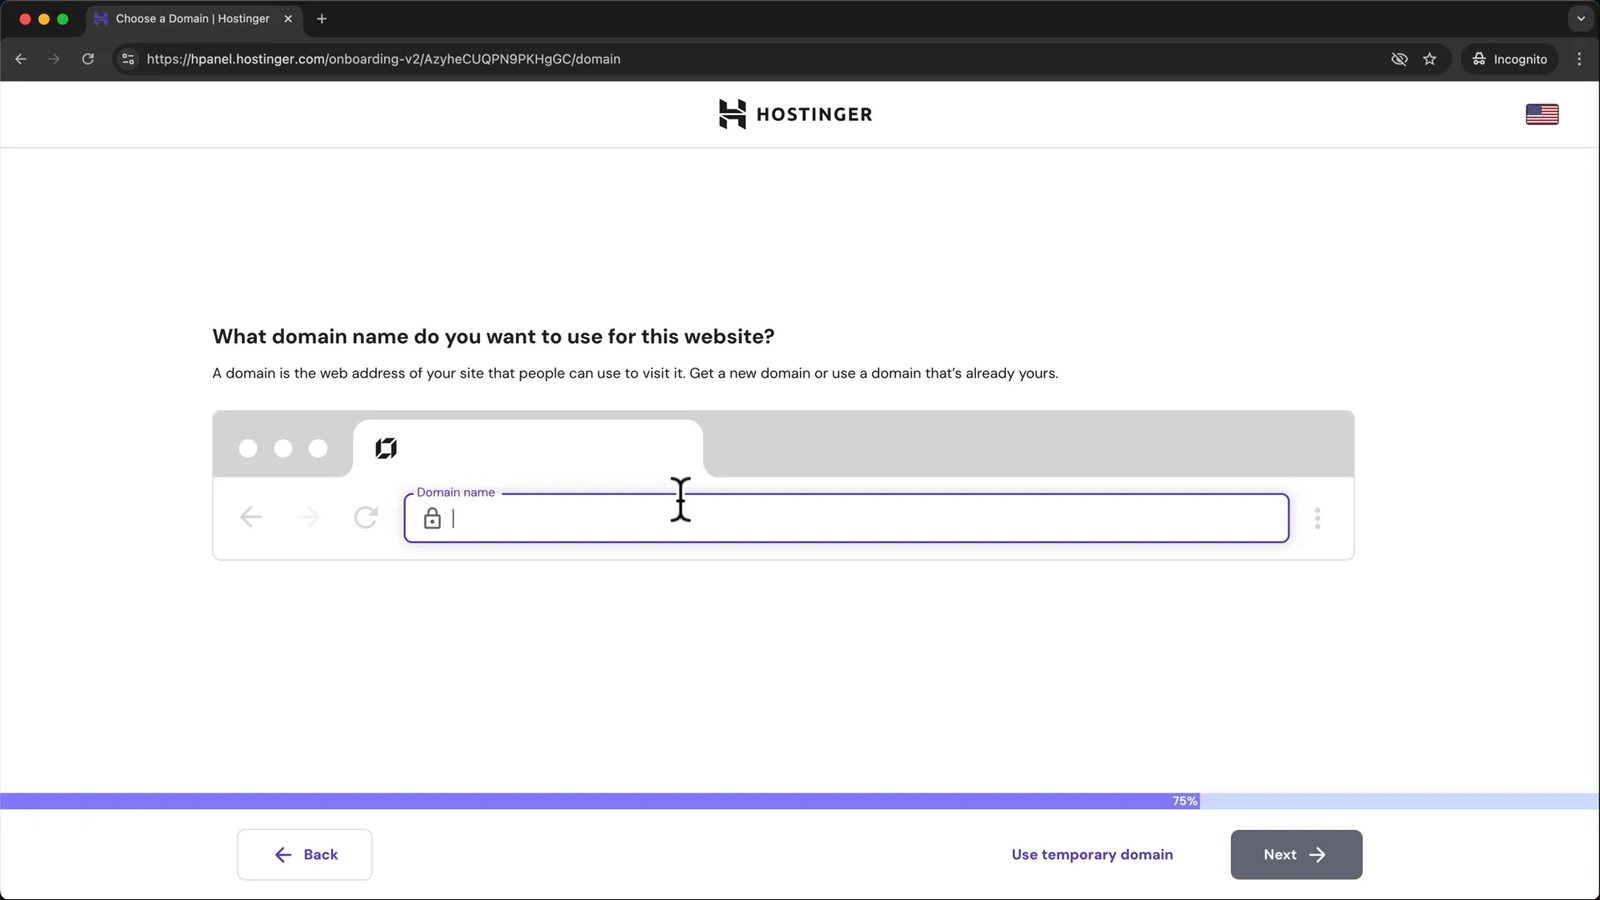
🌐 Choosing and Connecting Your Domain
Before diving into the design, Hostinger will prompt you to select your domain name – essentially your website’s address on the internet. However, it’s recommended to delay this step until after you have built and finalized your website. At first, use a temporary domain to get started quickly without being held back by domain decisions.
Later in this guide, I will show you exactly how to select and connect your custom domain to your website so it’s ready for the world.
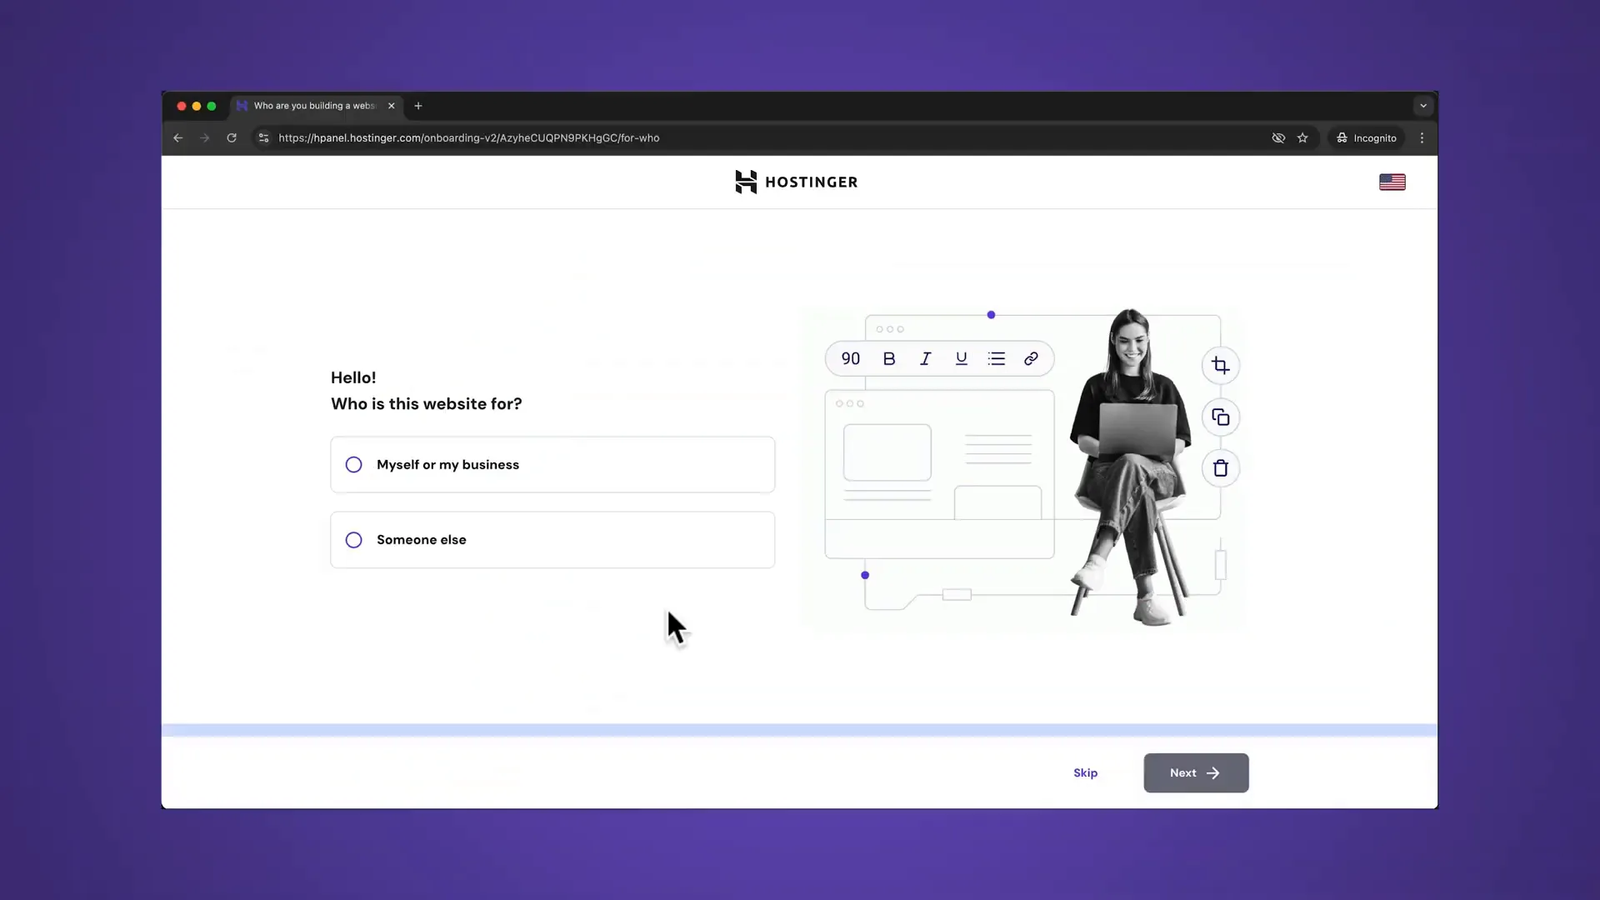
🎨 Building Your Website with Hostinger AI
Hostinger simplifies website creation with an AI-powered builder. You start by selecting the type of website you want to create, then enter your brand name and describe your website’s purpose and style in detail. Being specific helps Hostinger’s AI generate a first draft that closely matches your vision.
For example, I created a website for a surf photographer aiming to get bookings through the site. You should also specify any fonts or styles you want to use, as these can be hard to change later.
In the customization settings, you can add your brand colors or select a color palette. Don’t worry if you’re unsure at this point – colors and styles can be adjusted later.
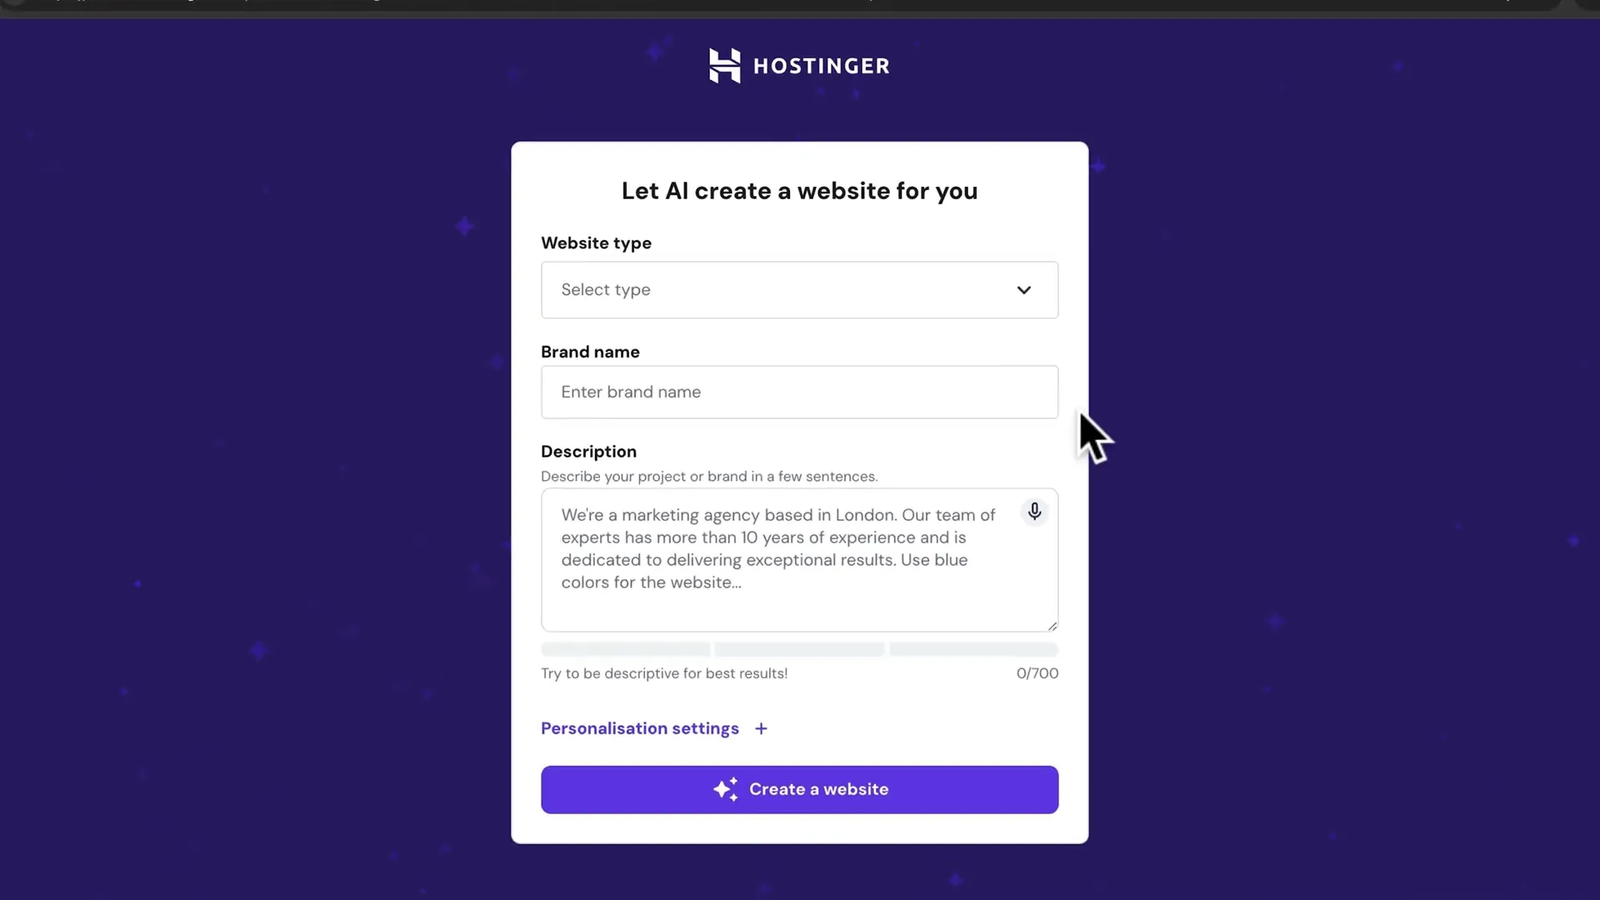
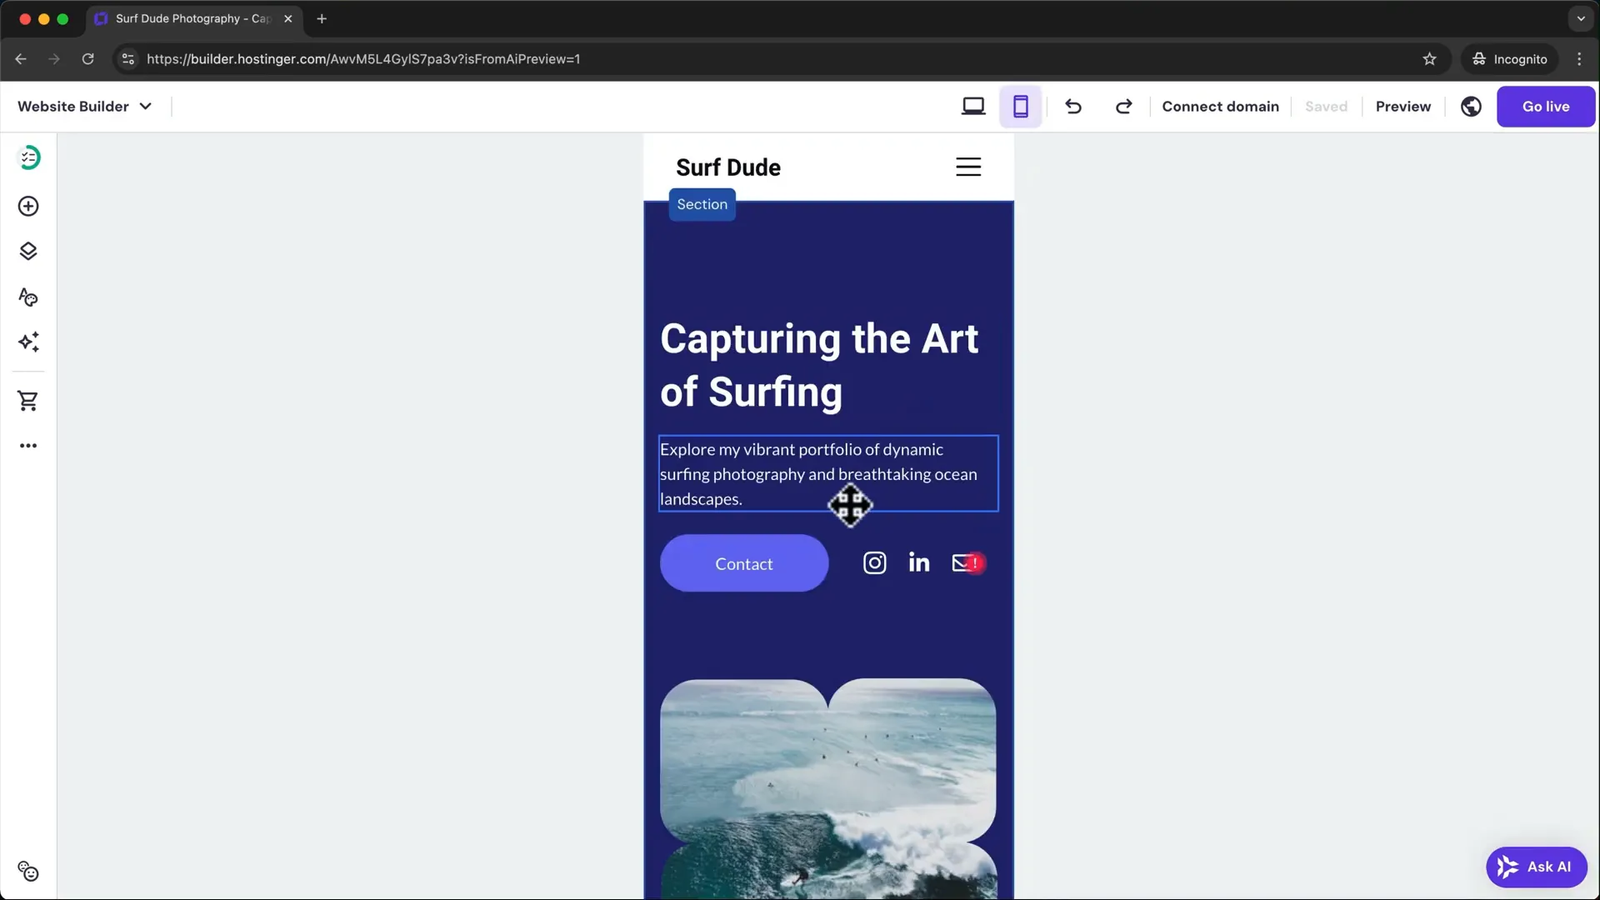
After submitting your information, Hostinger AI generates a draft website with placeholder text, images, and videos. You can preview this draft and see how it looks on mobile devices by clicking the mobile icon at the top right.
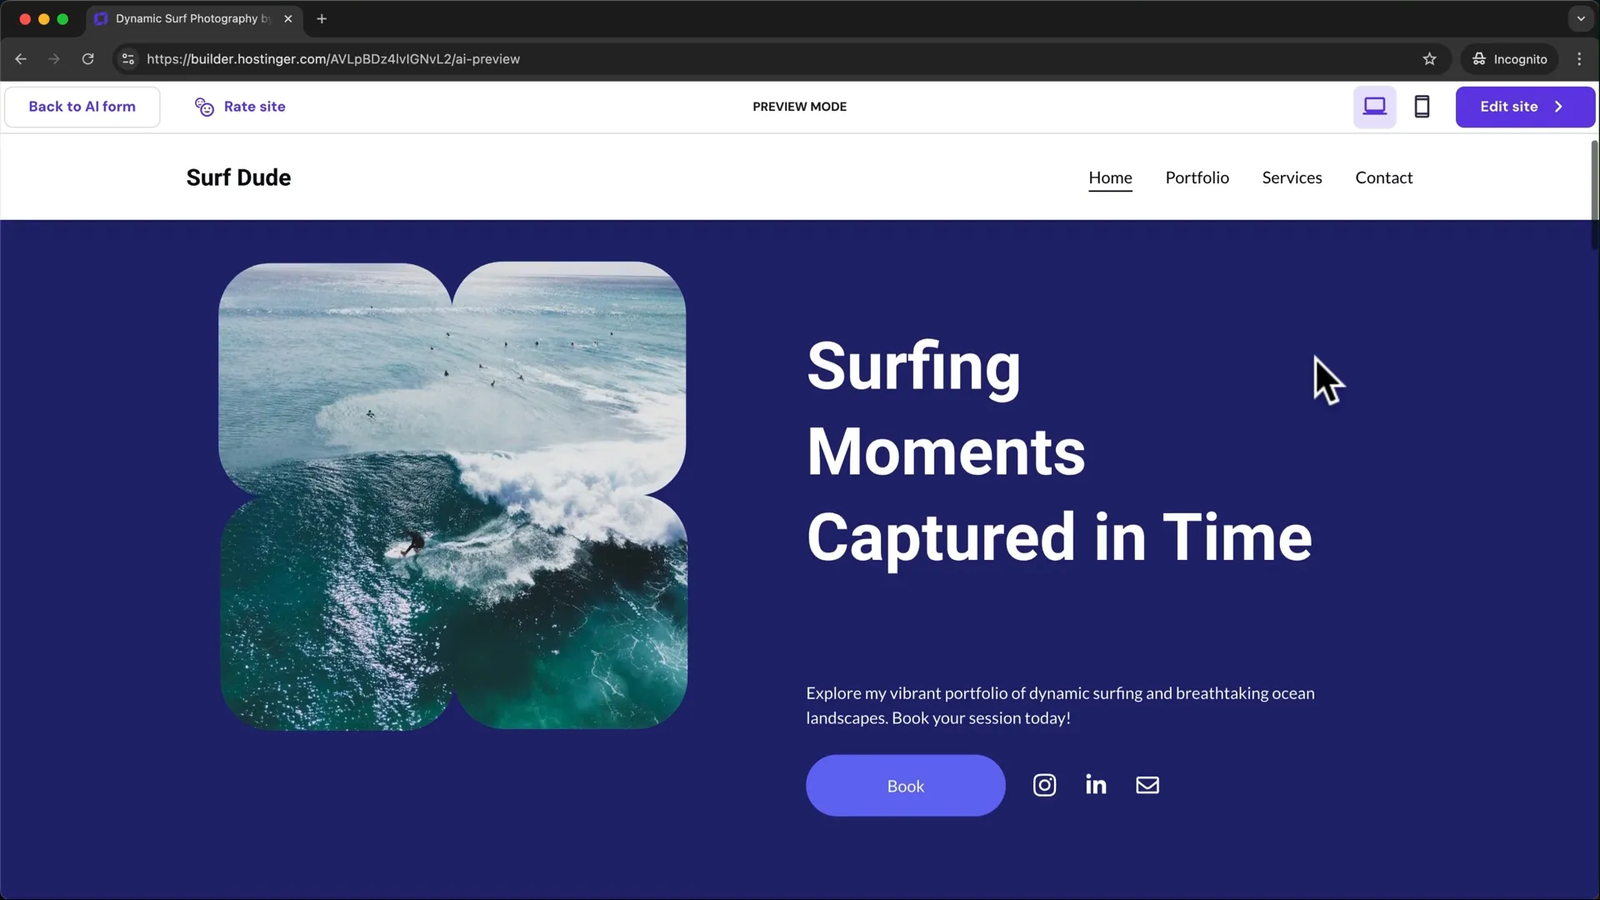
If you’re not satisfied with the design or structure, you can always go back, tweak your description, and have Hostinger AI create a new draft. It’s a good idea to try this several times until you find the version you love.
✏️ Customizing Your Website Content
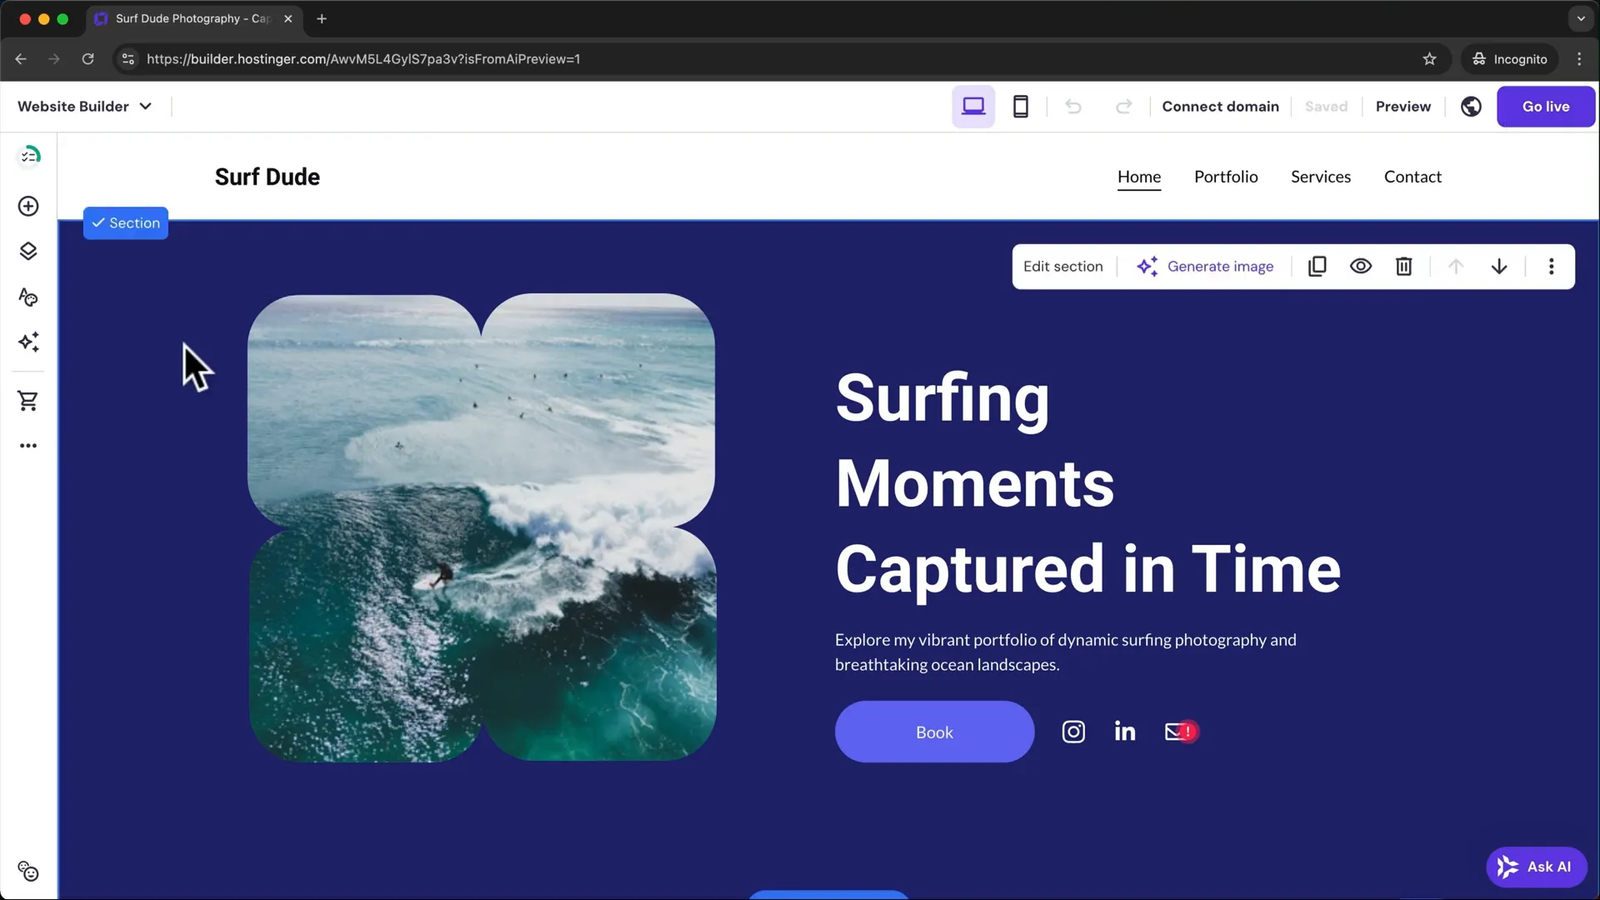
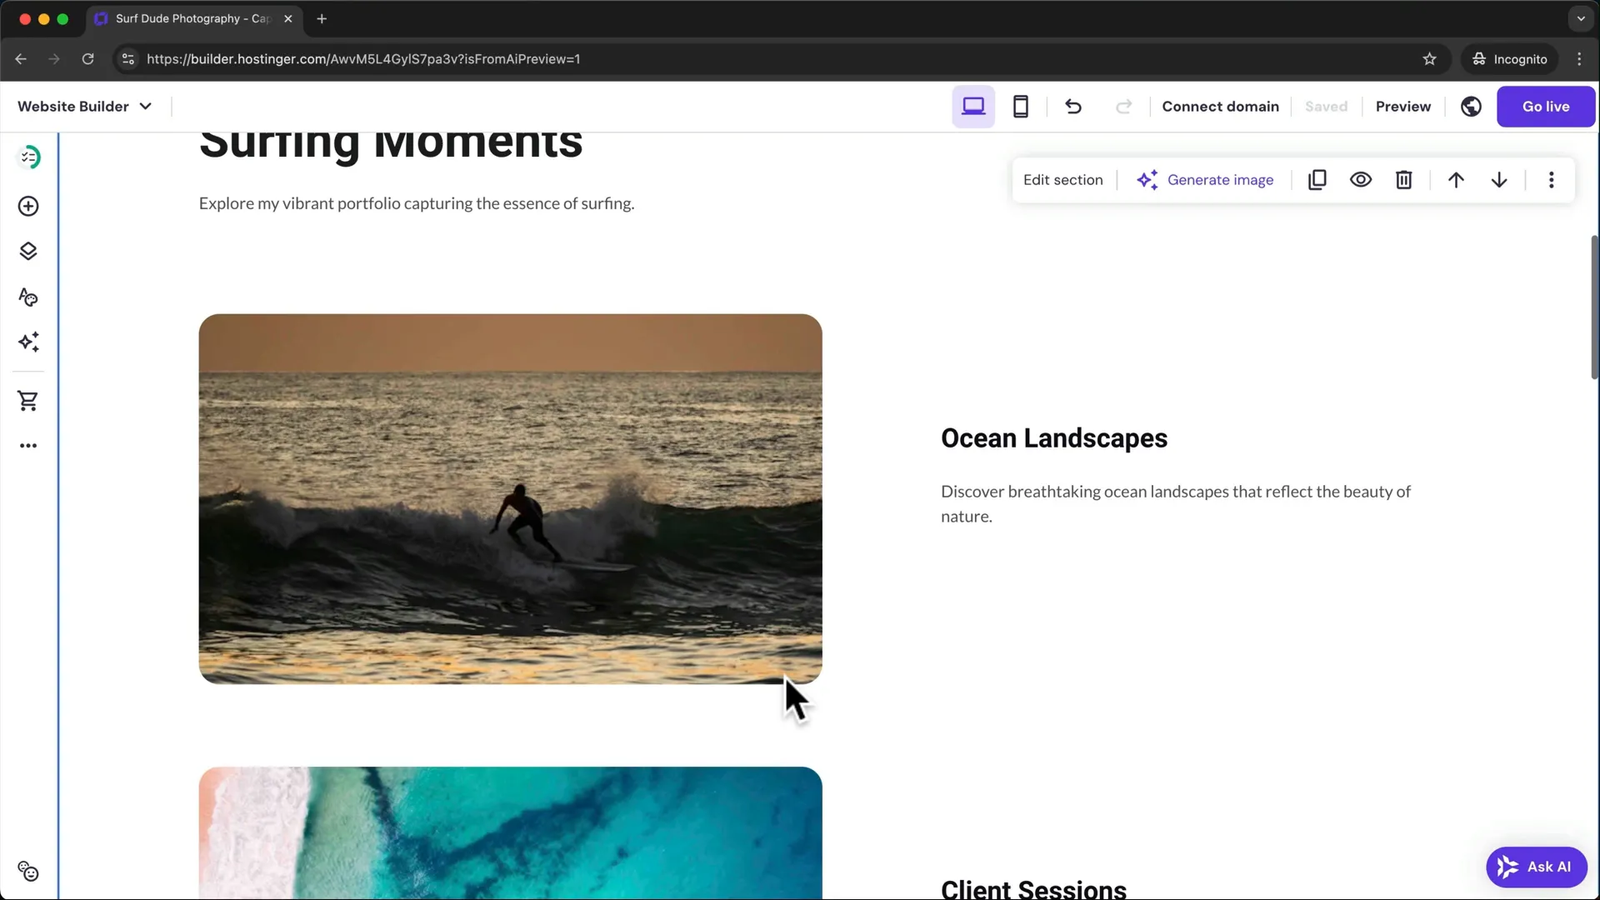
Once you’re happy with the draft, click “Edit Website” to open the Hostinger Website Builder. Here, you can manually customize every aspect of your site.
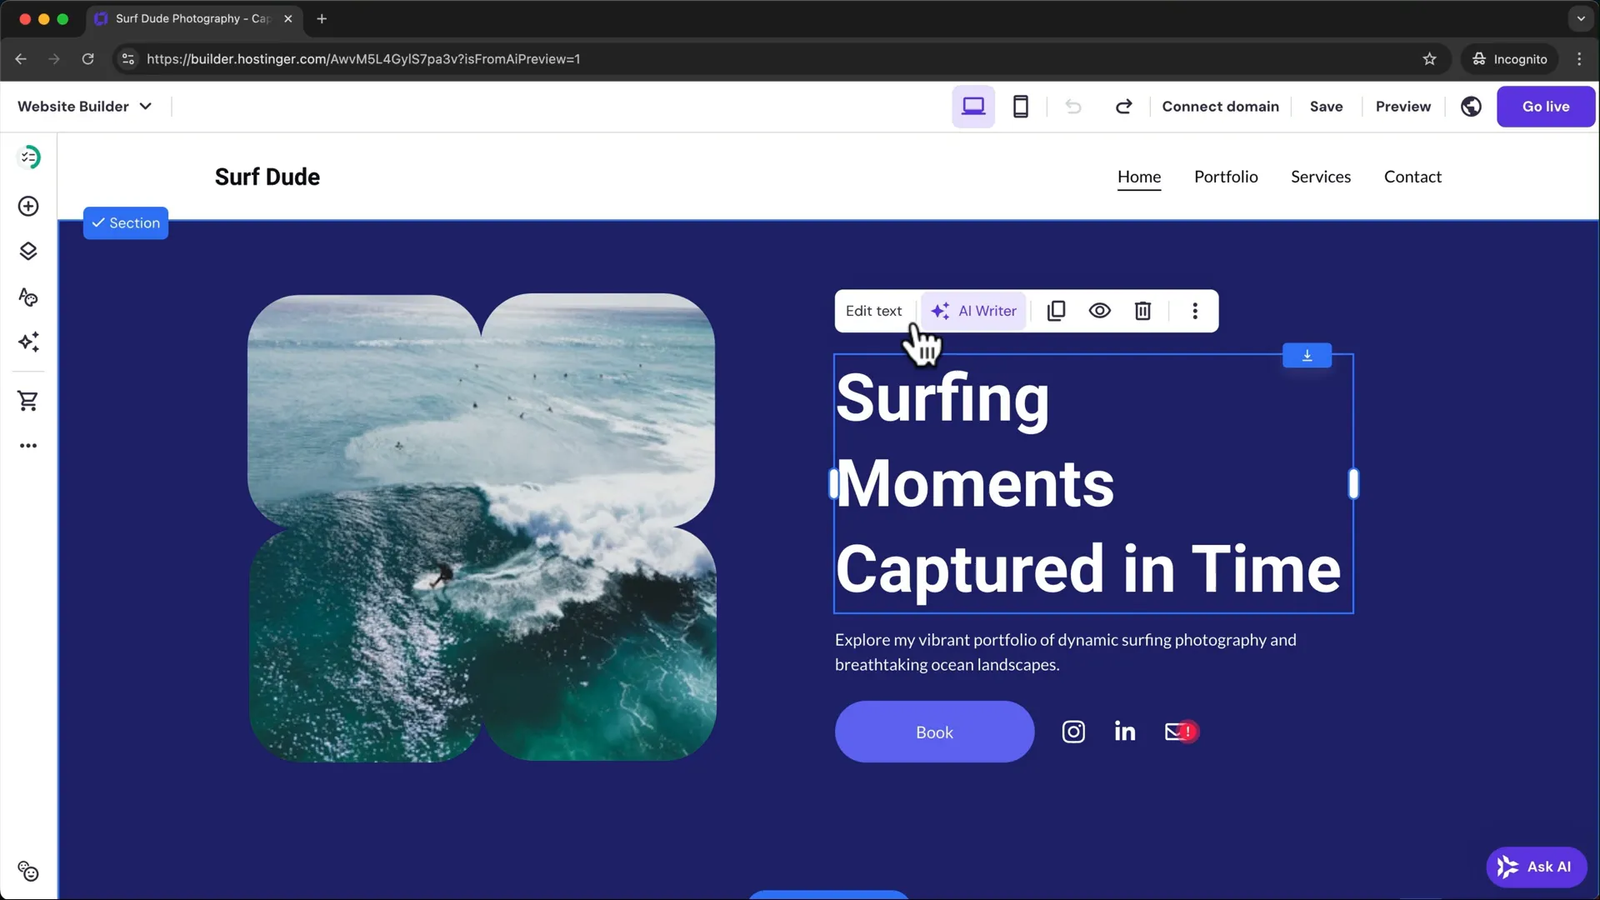
Each page is divided into sections, and each section contains various elements like images, text, and buttons. Editing text is as simple as clicking on it, selecting “Edit Text,” and typing your changes. You can also use the menu bar to adjust font styles, sizes, and colors.
Buttons work similarly: click the button, click “Edit Button,” then change the text and the link destination.
To move elements around, just click and drag them to a new position on the page. This flexibility allows you to create the perfect layout with ease.
Replacing images is straightforward. Click on an image, choose “Edit Image,” then “Replace Image,” and upload the new photo you want. Once uploaded, select it to update your site.
➕ Adding New Elements and Sections
Want to add more features to your page? Click the plus icon on the left to see all available elements such as buttons, text boxes, images, videos, and more. Drag your chosen element into place and customize it as needed.
To add an entirely new section, hover your mouse below an existing one and click “Add Section.” You can start with a blank section or choose from pre-designed templates to speed up your workflow.
If you need to remove an element or section, select it and click the trash can icon. Mistakes can be undone instantly using the undo button.
📱 Optimizing for Mobile Devices
Mobile optimization is critical since many visitors will view your site on phones or tablets. Always check your site’s mobile version by clicking the mobile icon at the top right.
Sometimes, elements may not align properly on smaller screens, so you’ll need to adjust their position specifically for mobile without affecting the desktop layout. You can also hide certain sections on mobile or desktop using the eye icon.
📄 Managing Pages and Navigation
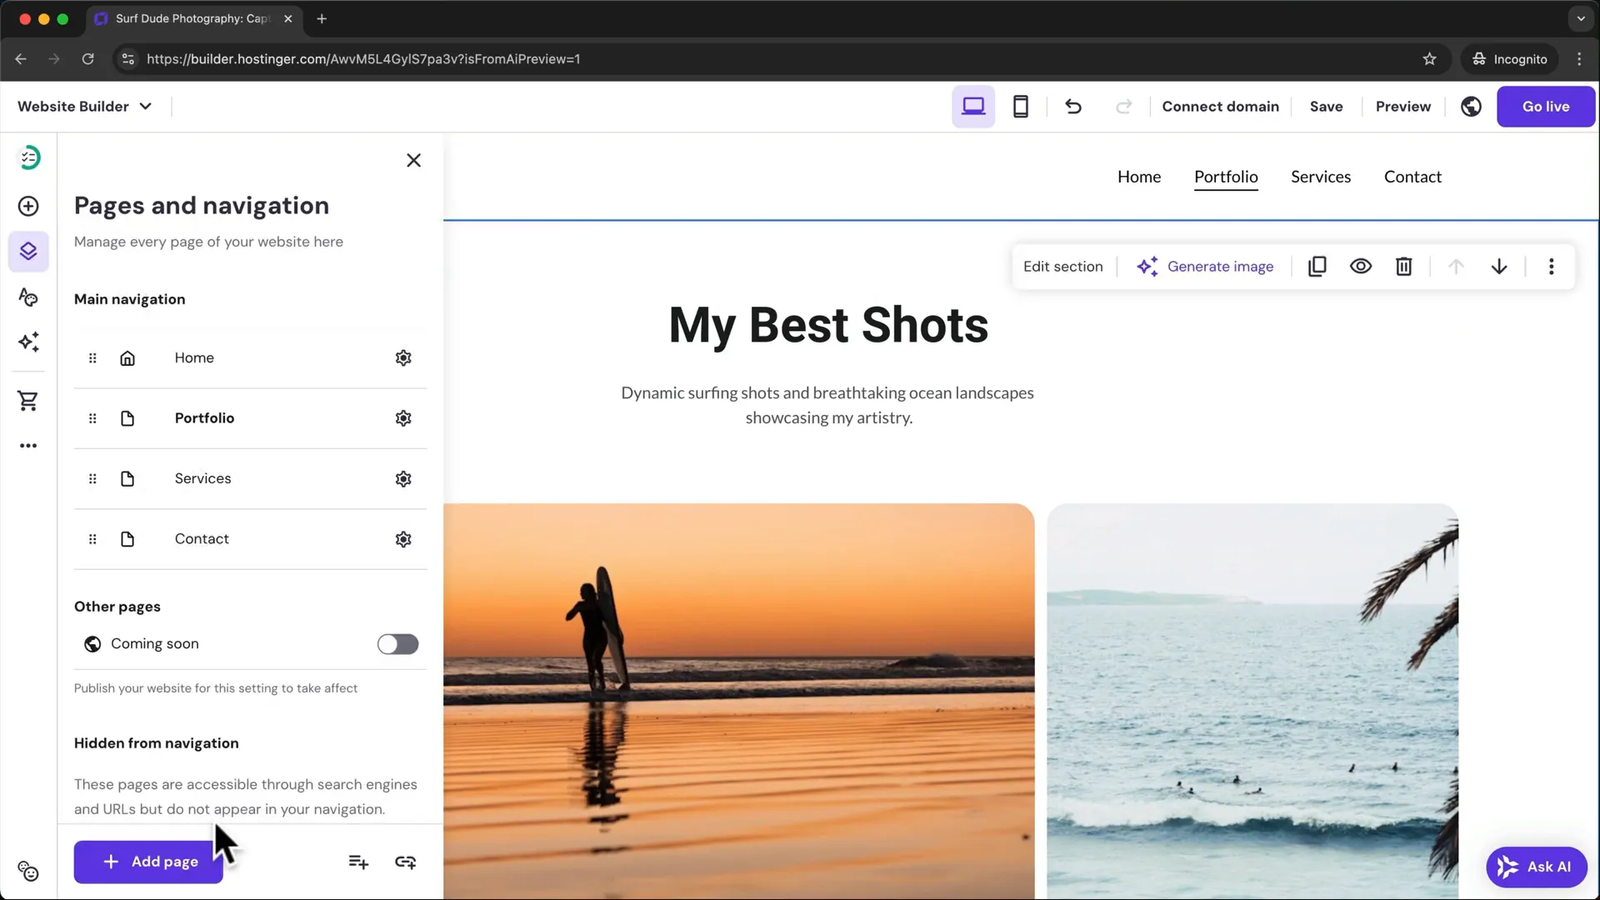
Your website likely needs multiple pages. To edit any page, simply select it from the navigation menu on the left.
Adding a new page is easy: go to “Pages and Navigation,” then click “Add Page.” You can start with a blank page or select from templates. The new page automatically appears in your site’s navigation menu, which you can reorder by dragging items up or down.
🖼️ Customizing Header and Footer
The header and footer are consistent elements shown on every page. To edit the header, click on it and select “Edit Header.” You can change the layout, enable or disable specific elements, upload your logo, and adjust its style, such as background color.
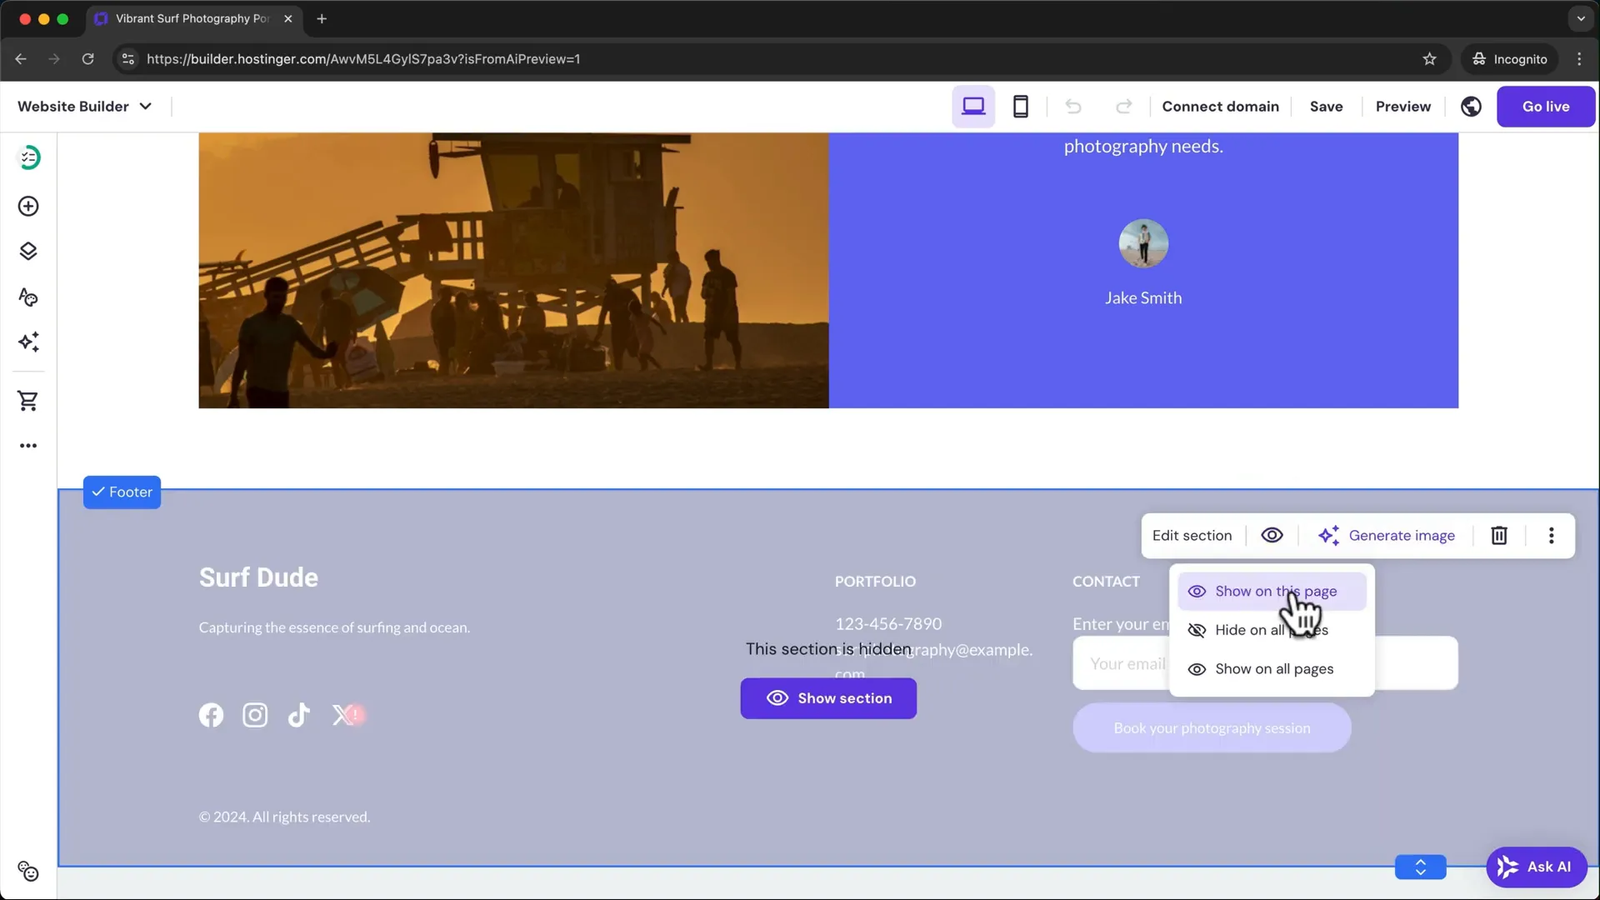
The footer works like a regular section that appears at the bottom of every page. You can edit or hide it on specific pages if needed.
🎨 Styling Your Website: Colors, Fonts, and Buttons
Under “Website Styles,” you can customize your site’s colors, fonts, and button designs. To change a color, simply click it and select a new shade. For fonts, click “Edit Text Styles” to choose fonts for headings and paragraphs.
Be cautious when changing fonts, as it can sometimes misalign text elements. Always review all pages after making font changes to ensure everything looks perfect.
Button styles can also be adjusted, including hover animations and how content appears when loading new pages.
📧 Creating and Managing Contact Forms
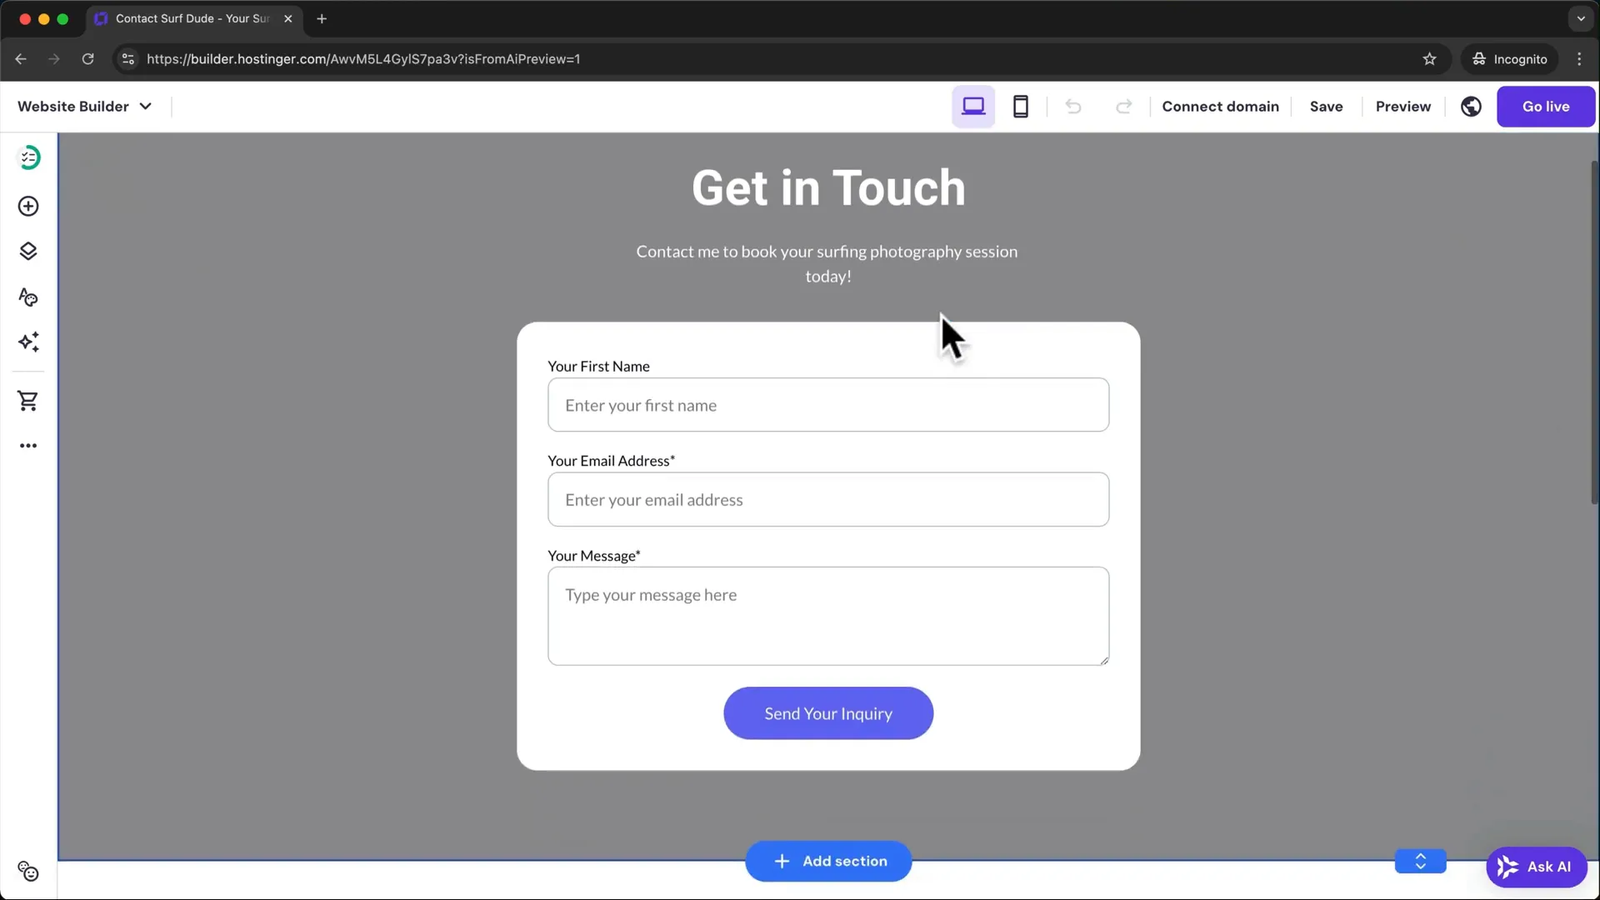
Contact forms are essential for communication. To customize your form, click on the form element and select “Edit Form.” You can change the form’s name, the email address where submissions are sent, add or remove fields, and rearrange field order.
Button text and confirmation messages after submission can also be customized.
When someone submits a form, you receive an email with all the details entered. You can reply directly from your email client, with the sender’s email pre-filled for convenience.
Within the website builder, you can view all form submissions by clicking the three dots menu, then “Form Submissions.”
📝 Adding a Blog to Your Website
Want to start a blog? Hostinger makes it simple. Click the three dots menu, choose “Blog,” then “Start Blog.” This automatically adds a blog page with sample posts.
You can create new posts by clicking “Add New Post.” You have the option to use AI to write your post or write it yourself. When your post is ready, switch its status from “Draft” to “Public” to make it visible on your blog page.
🛒 Setting Up an Online Store (eCommerce)
If you want to sell products, add an online store by clicking the shopping cart icon and selecting “Add Store.” A new store page with sample products will be created.
To add your own products, go to “Manage Store” where you’ll set your country, currency, and then access a dashboard to add products, configure payments, add company info, and set up shipping.
🔍 SEO Optimization for Better Google Ranking
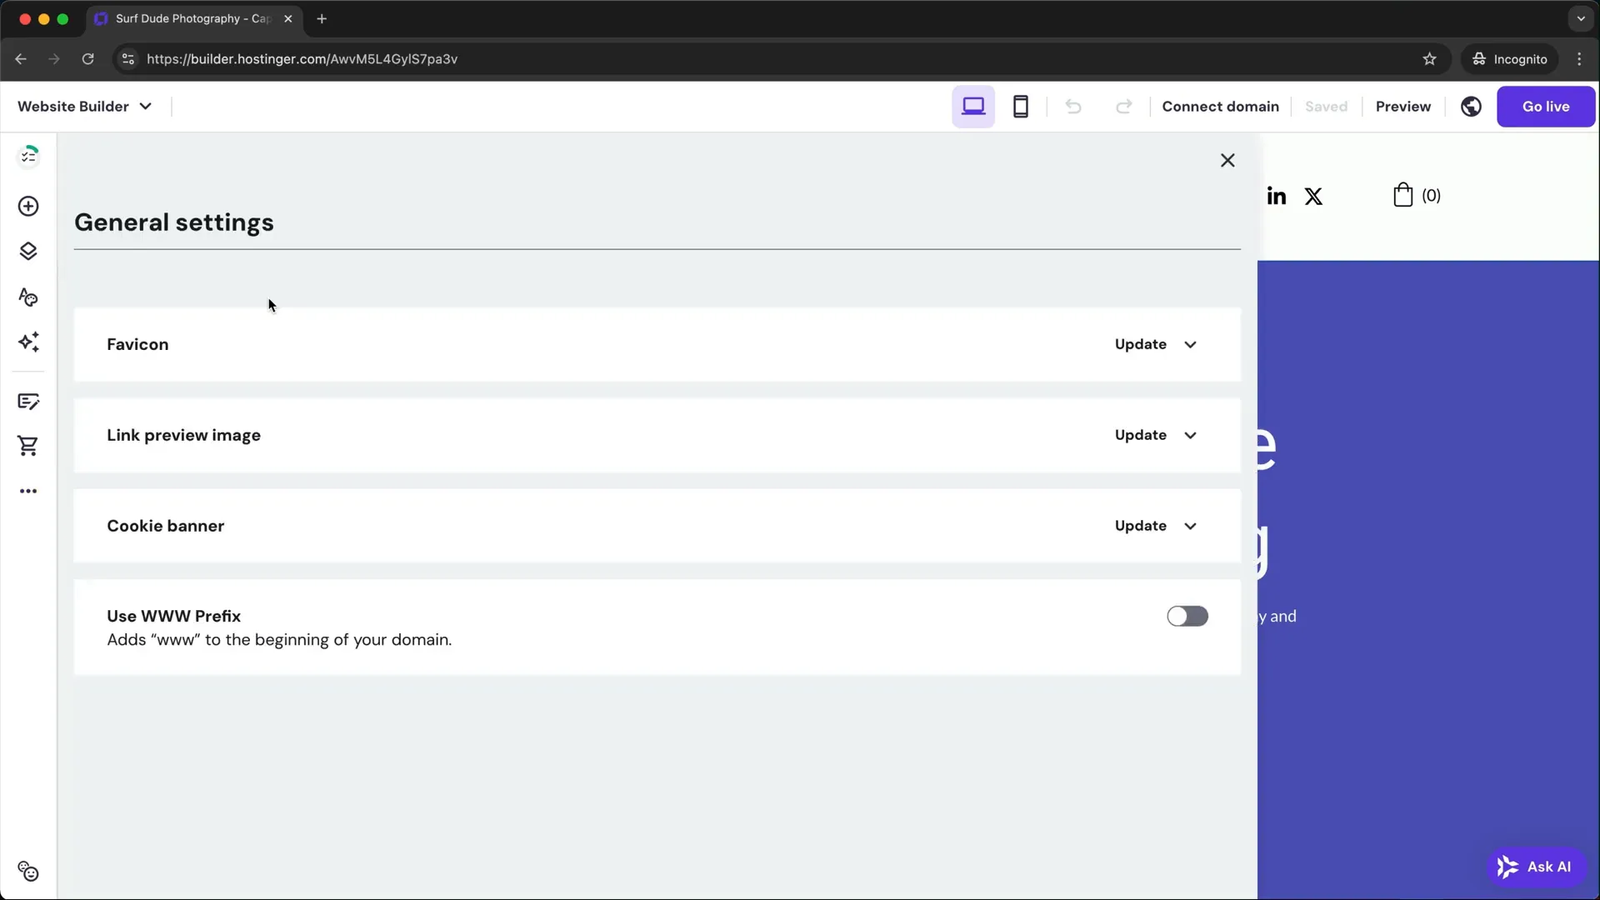
Before publishing, optimize your website for search engines to help people find you on Google. Start by uploading a square logo as a favicon, which appears in browser tabs.
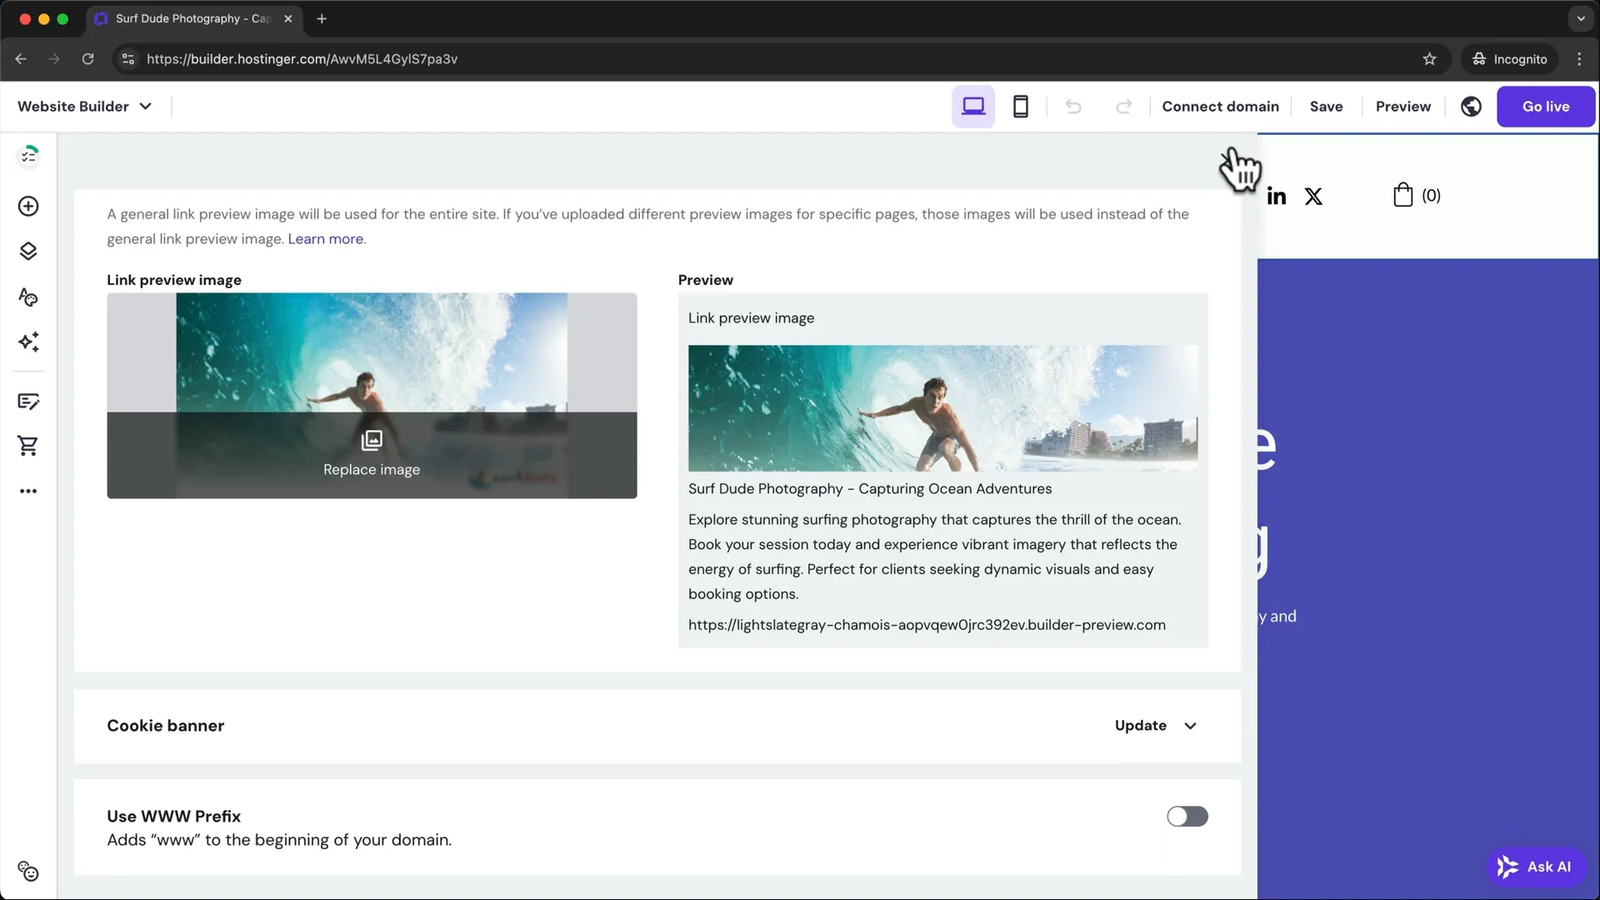
Next, add a link preview image, ideally sized at 1200×630 pixels, which will show when your site is shared.
For SEO on individual pages, go to “SEO Settings,” select a page, and create SEO information. Write a brief description of the page content and choose three related keywords. Hostinger AI will generate the SEO title and meta description for you.
Repeat this process for all pages to maximize your site’s search engine visibility.
🌍 Connecting Your Custom Domain and Publishing
The final step before going live is connecting your custom domain. Click “Connect Domain” at the top, enter your desired domain, and follow the instructions to complete registration. It’s best to choose a short, memorable domain, preferably with a .com extension.
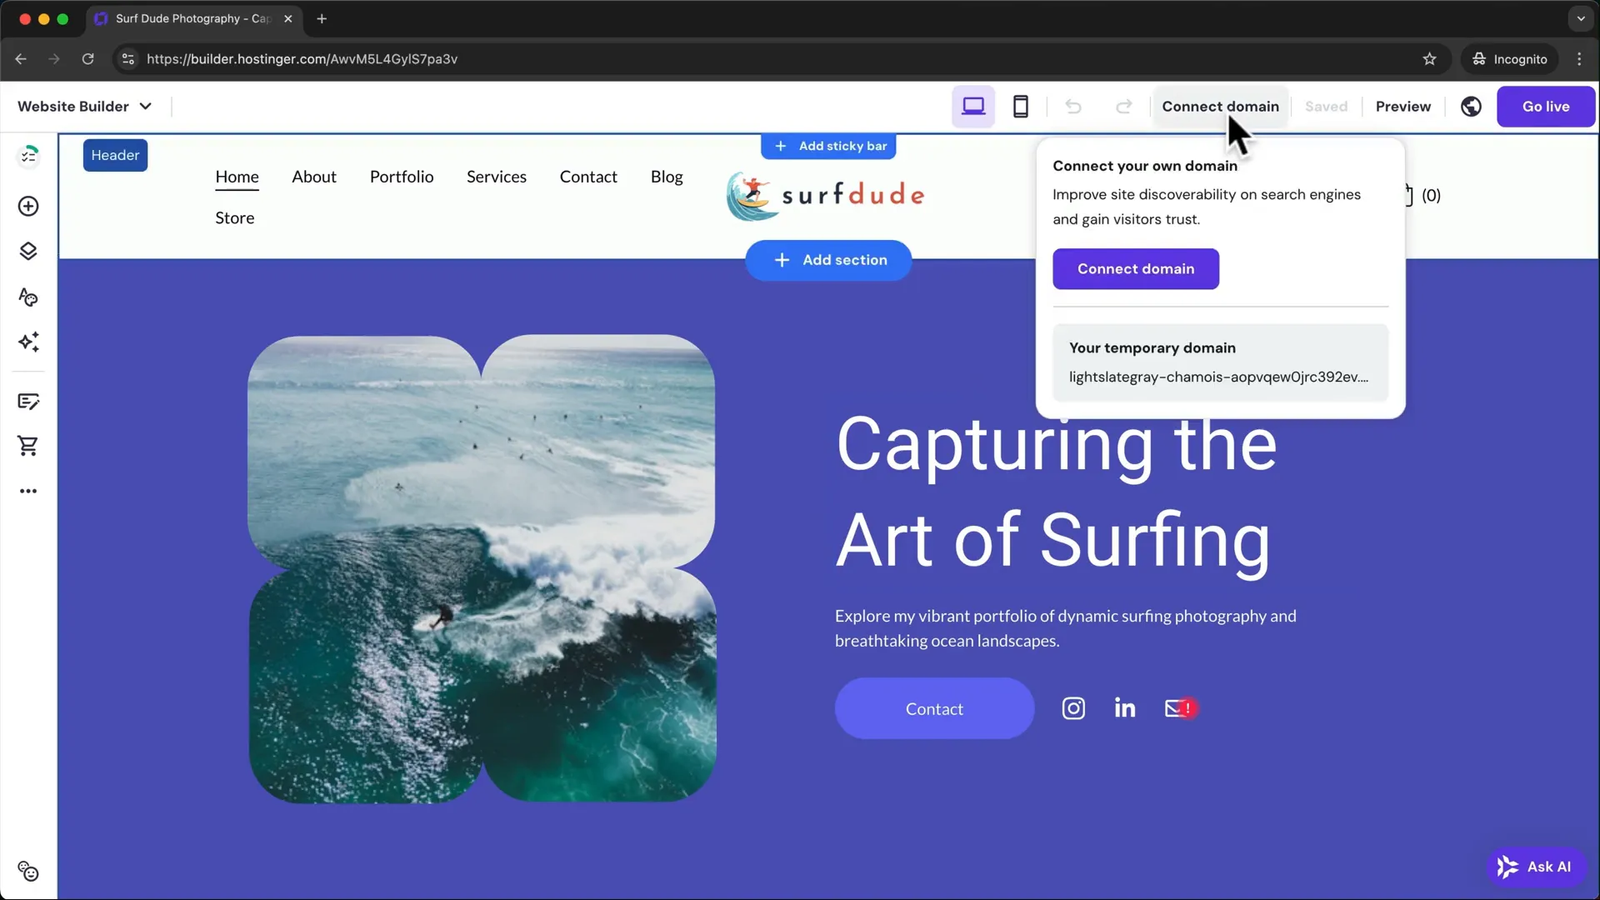
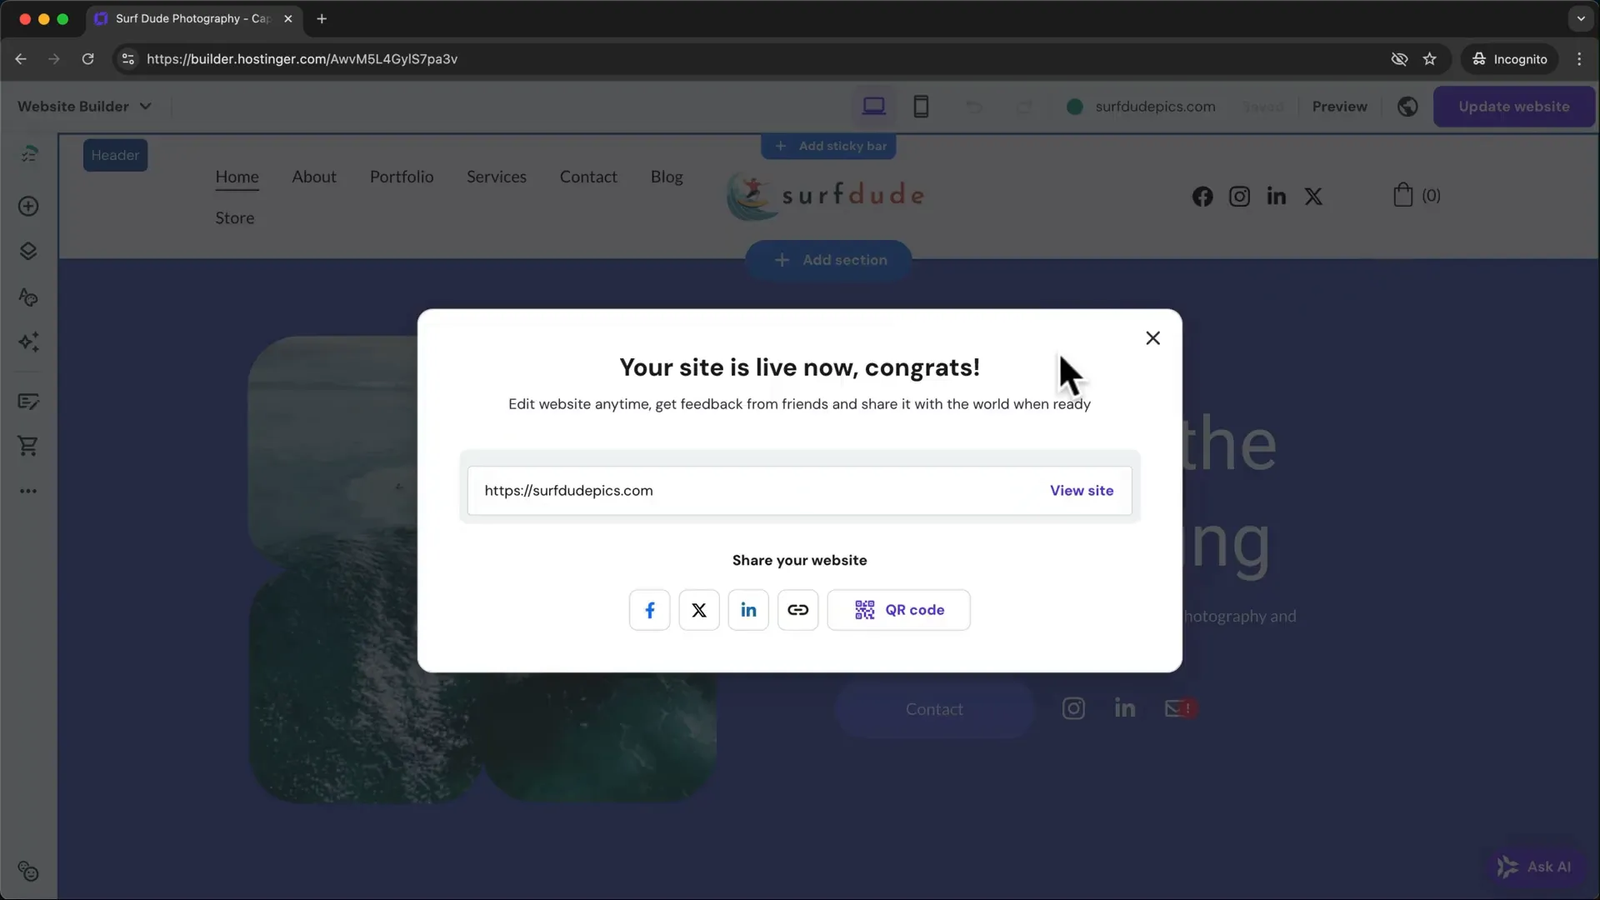
Once connected, your domain will automatically link to your website. Then, simply click “Go Live” to publish your site and make it accessible to the world.
📧 Setting Up a Professional Business Email
To enhance your professional image, set up a business email using your new domain. From the website builder, go to “Website Manager” then “Main Menu,” and select “Emails.”
Click “Setup” next to the free email service, select your domain, and start with the free plan. Choose your email address and password, then create the account.
You can access your new email via webmail or configure it on popular apps like Gmail. Instructions for connecting your Hostinger email to Gmail are available for ease of use.

❓ Frequently Asked Questions (FAQ) ❓
Q1: Can I create a website with no prior experience?
Absolutely! Hostinger’s AI-powered Website Builder guides you through the process, allowing even beginners to create a professional website quickly.
Q2: Which Hostinger plan should I choose?
If you want eCommerce features and the best performance, go for the Business Plan. For simpler websites, the Premium Plan is a budget-friendly alternative.
Q3: Should I connect my domain before building my website?
It’s recommended to build your website first using a temporary domain, then connect your custom domain when your site is ready to publish.
Q4: How can I optimize my website for mobile devices?
Use the mobile preview in the website builder to check your site’s mobile appearance. Adjust or realign elements specifically for mobile to ensure a perfect look on all devices.
Q5: Can I add a blog and online store to my website?
Yes, Hostinger allows you to easily add a blog and an eCommerce store with built-in management tools for posts, products, payments, and shipping.
Q6: How do I improve my website’s SEO?
Fill out SEO settings for each page by adding descriptions and keywords. Upload a favicon and link preview image to enhance your site’s appearance on search engines.
Q7: Is it possible to create a professional business email with Hostinger?
Yes, you can set up a custom email address using your domain directly from Hostinger’s control panel, and access it via webmail or apps like Gmail.
By following this detailed guide, you’ll have a fully customized, professional website ready to attract visitors, showcase your brand, and even sell products online. Hostinger’s Website Builder offers a powerful yet user-friendly platform to make your online presence a reality in just minutes.
