


Welcome to your ultimate guide on creating a WordPress website using Elementor in 2025! Whether you’re a complete beginner or someone looking to refresh your skills, this comprehensive tutorial will walk you through every essential step — from setting up hosting and installing WordPress to designing your site with Elementor’s intuitive drag-and-drop builder and connecting your custom domain. This article expertly simplifies the website-building process for those new to WordPress and Elementor.
By the end of this guide, you will have a fully functional, visually appealing, and mobile-optimized website that you can manage yourself with minimal costs. Let’s dive in and build your online presence with confidence!
🛠️ Setting Up Your WordPress Website with Elementor Hosting
The first critical step in launching your WordPress website is setting up hosting — essentially renting space on a server where your website files will be stored so that your site can be accessible 24/7. Elementor offers hosting plans that are specifically optimized for WordPress and work seamlessly with their page builder.
To get started, you’ll want to sign up for Elementor hosting. The plans include both hosting and the Elementor page builder, allowing you to design your website without any coding knowledge by simply dragging and dropping elements on your pages.
Elementor’s hosting plans are designed to be beginner-friendly, with the Core Builder included in their Lite plan, which is sufficient for most new websites. You can always upgrade later if your site grows or if you need more advanced features.
Once you choose the Lite plan and complete the purchase, you’ll create your Elementor account, enter your billing information, and finalize payment. After registration, you will receive an email to verify your account — this step is essential to activate your hosting and proceed with WordPress installation.
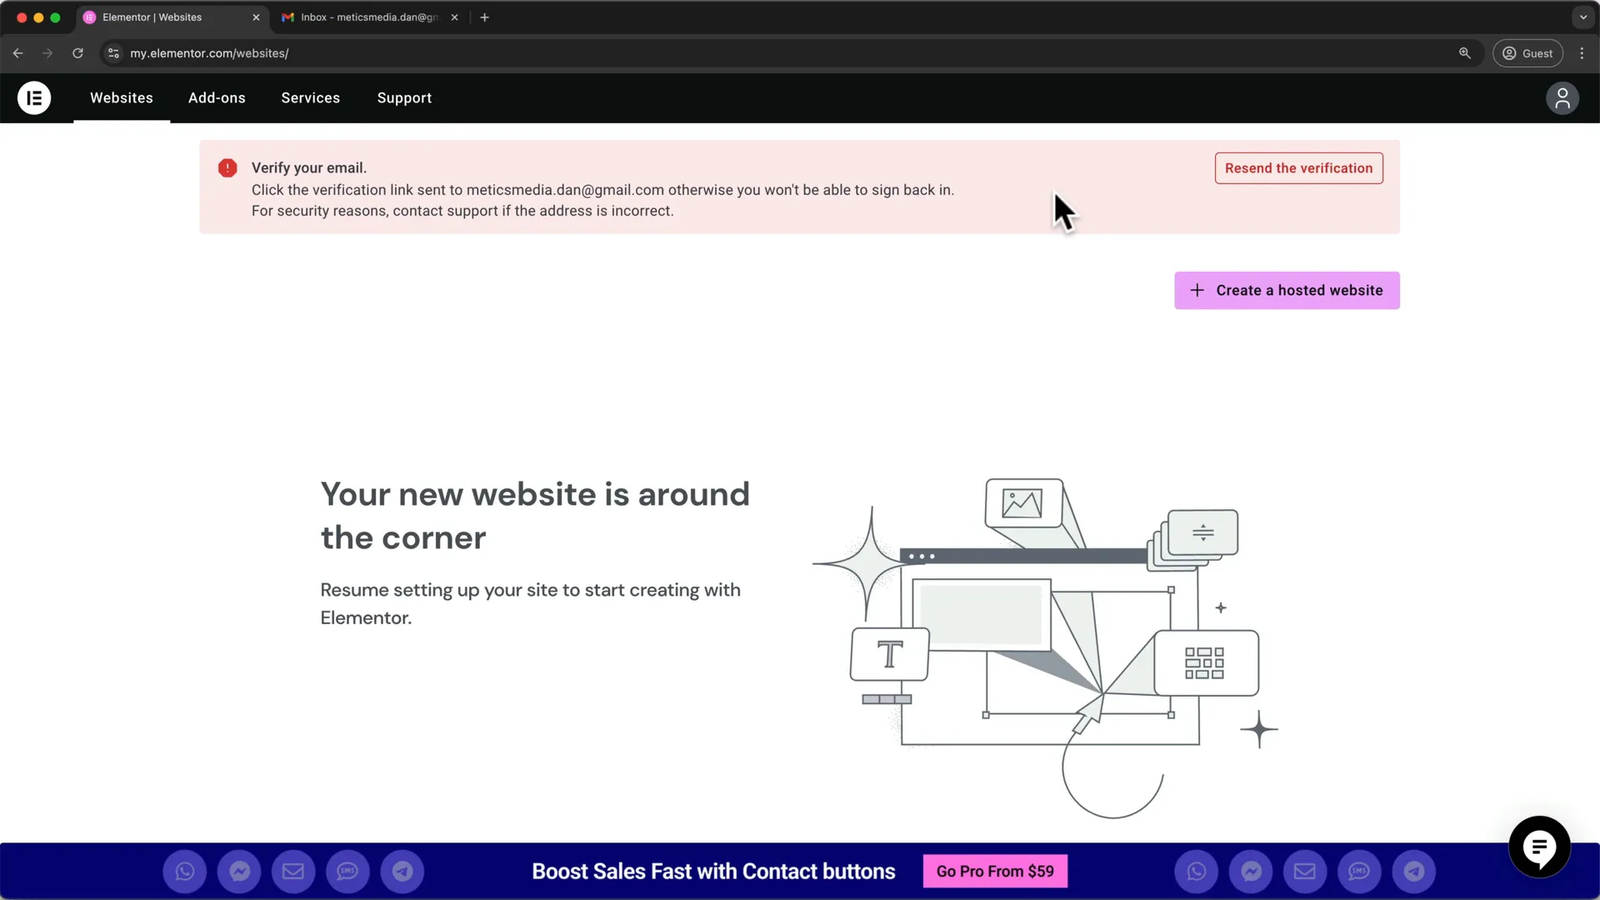
After verifying your email, you can log back into your Elementor dashboard and begin the process of creating your hosted website by selecting “Create Hosted Website” and choosing to create a new site. Elementor provides a temporary domain during setup, which you can later replace with your custom domain name.
Sometimes, you might encounter a limited access page during setup — don’t worry! Simply open a new tab, log in again, and you’ll be back on track to complete your WordPress installation.
🖥️ Navigating and Cleaning Up Your WordPress Dashboard
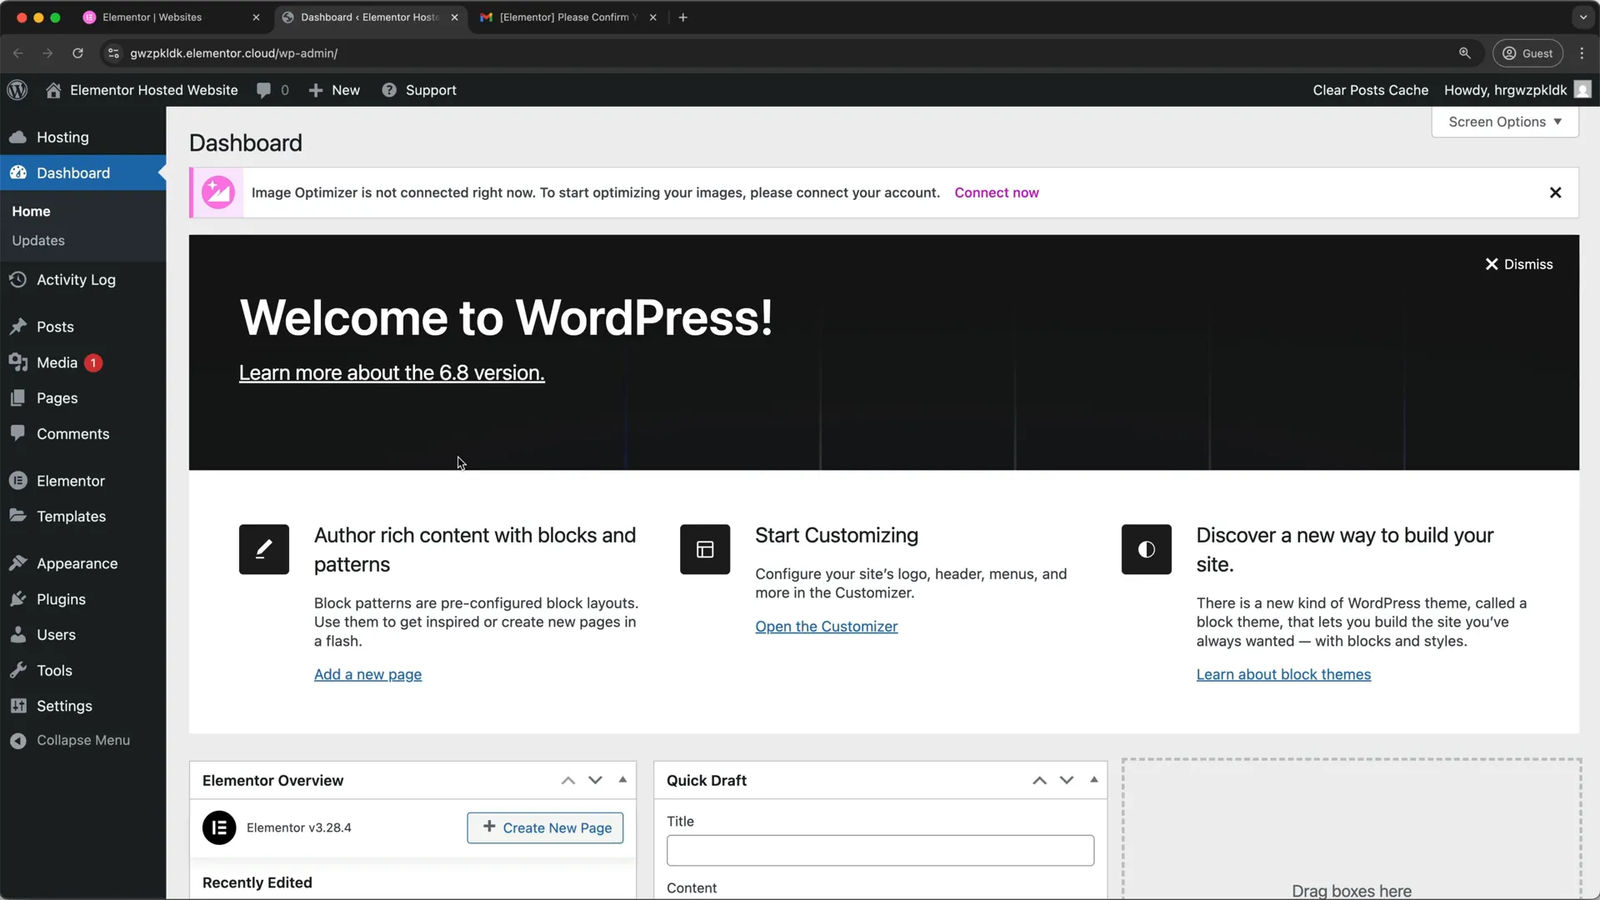
Once WordPress is installed and you log into your WordPress dashboard, you’ll be greeted by a backend interface where you’ll manage your website’s content, appearance, and functionality.
Before diving into designing your site with Elementor, it’s a good idea to clean up the default clutter WordPress includes. For example, you can delete the default “Hello World!” post and any placeholder pages like “Sample Page” or “Home Page Template” that come pre-installed.
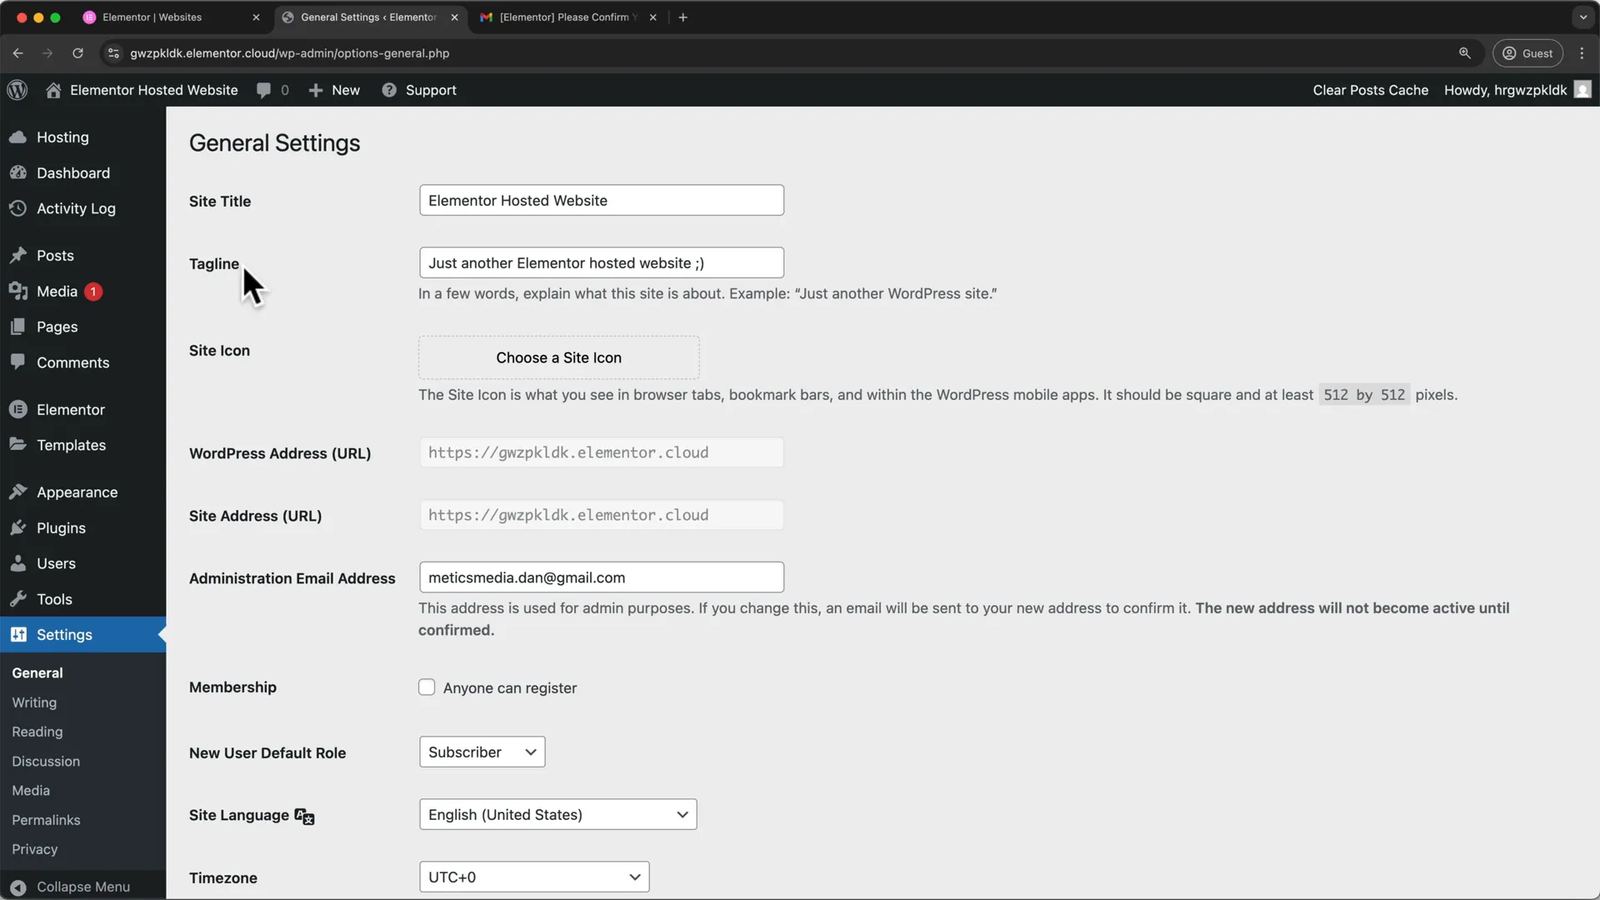
Also, customize your site’s title and tagline to reflect your website’s purpose. You can do this in the WordPress Settings menu under “General.” This change will update the site name displayed in browser tabs and WordPress admin bars.
To reduce spam and unnecessary distractions, it’s recommended to disable comments on new posts unless you specifically want to allow user engagement through comments.
🎨 Installing a WordPress Theme and Elementor Starter Templates
The visual foundation of your website lies in the WordPress theme you choose. While Elementor’s default theme is “Hello Elementor,” many users prefer the popular free theme Astra, which offers excellent compatibility with Elementor and customizable design options.
To install Astra, navigate to the “Appearance” section in WordPress, then “Themes,” and add the new theme by searching for Astra. After installation, activate the theme and delete the Hello Elementor theme to keep your environment clean.
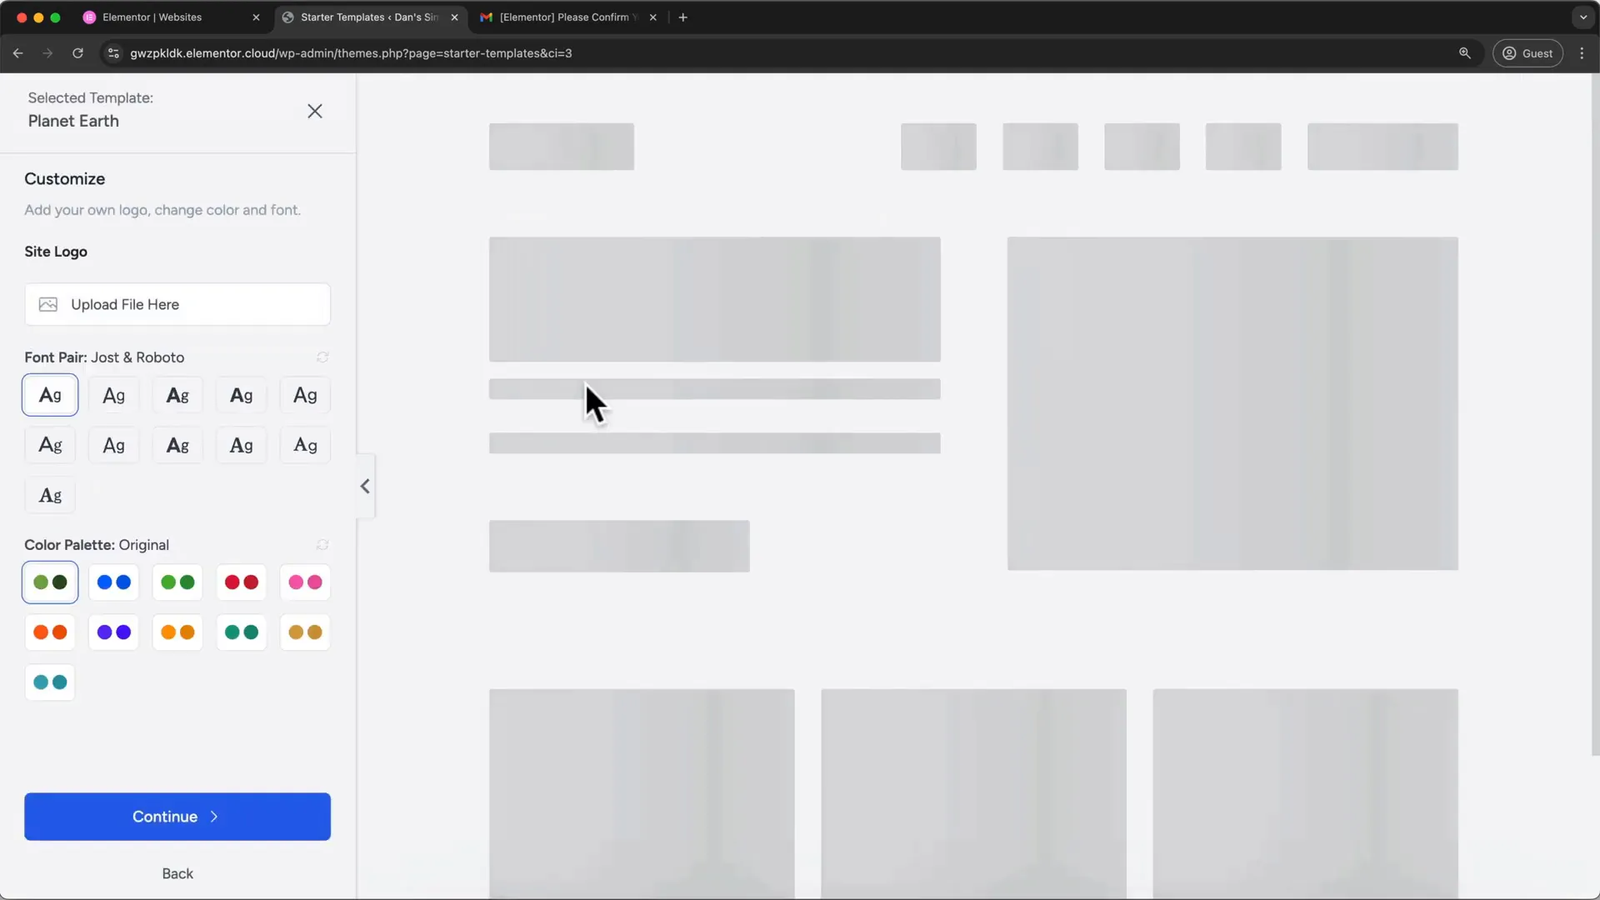
Next, install the “Starter Templates” plugin, which provides hundreds of pre-built templates and blocks designed specifically for Elementor. This plugin acts like an app store for website design, making it easy to kickstart your site with professional layouts.
After installing and activating the Starter Templates plugin, choose Elementor as your page builder and browse through free templates to find one that suits your website’s niche. Templates are different from themes — while themes control the overall site style, templates are design layouts for individual pages or sections like Home, About, or Contact pages.
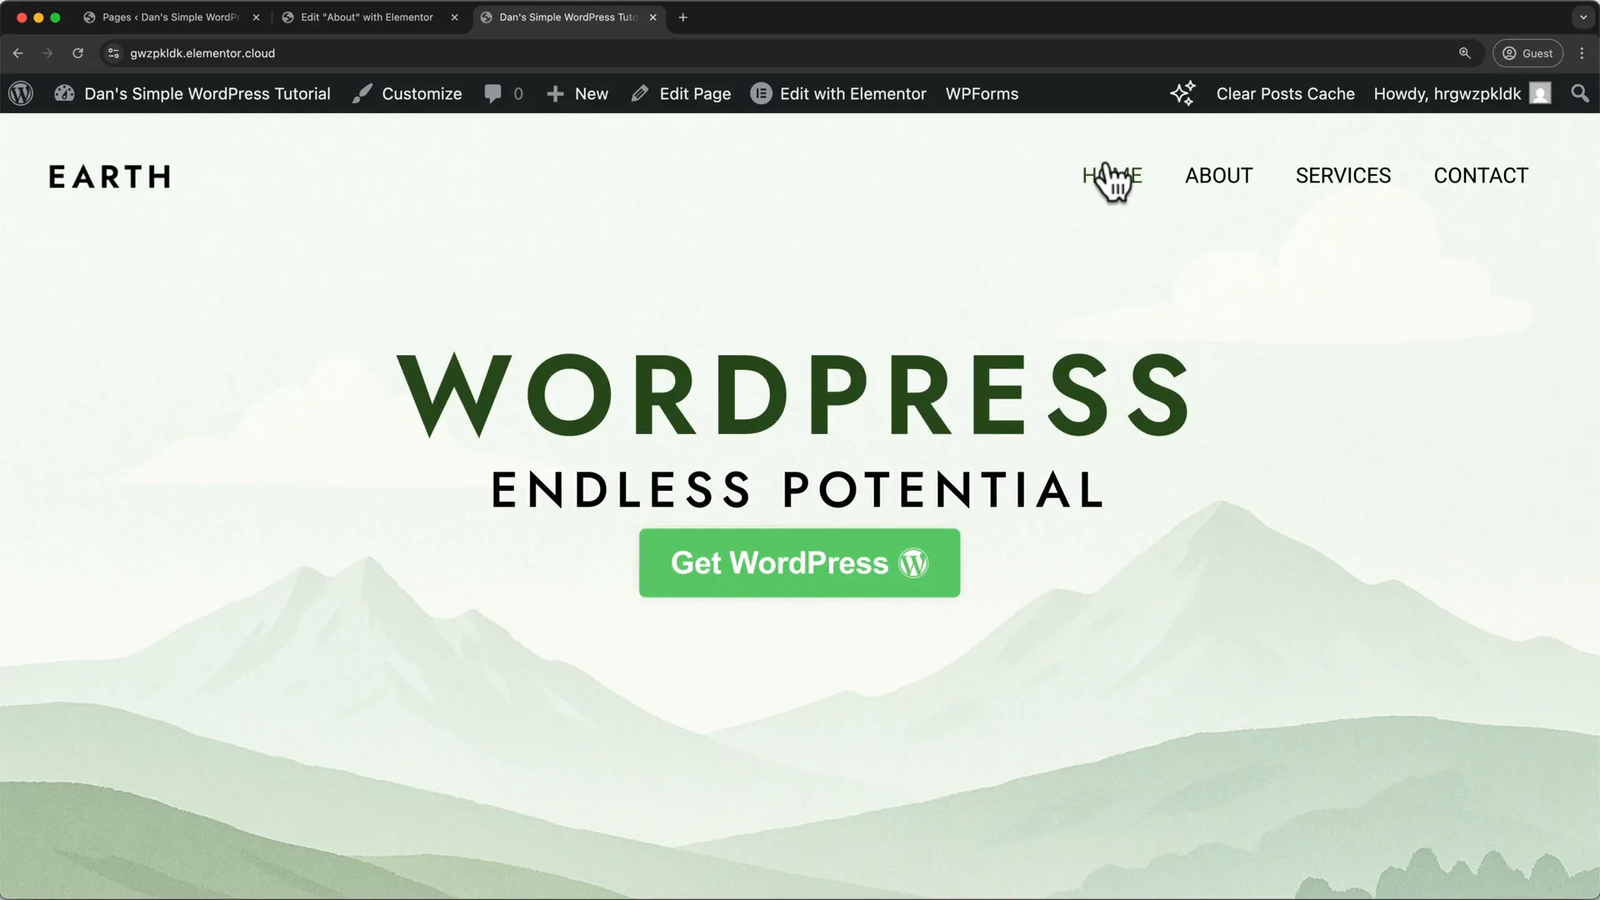
For beginners, a template like “Planet Earth” is a great choice due to its flexibility and ease of customization across various industries.
🖌️ Customizing Your Website Using Elementor Page Builder
With your theme and template set, you’re ready to personalize your website’s content and design using Elementor. Elementor’s drag-and-drop interface lets you add, move, and style page elements without writing a single line of code.
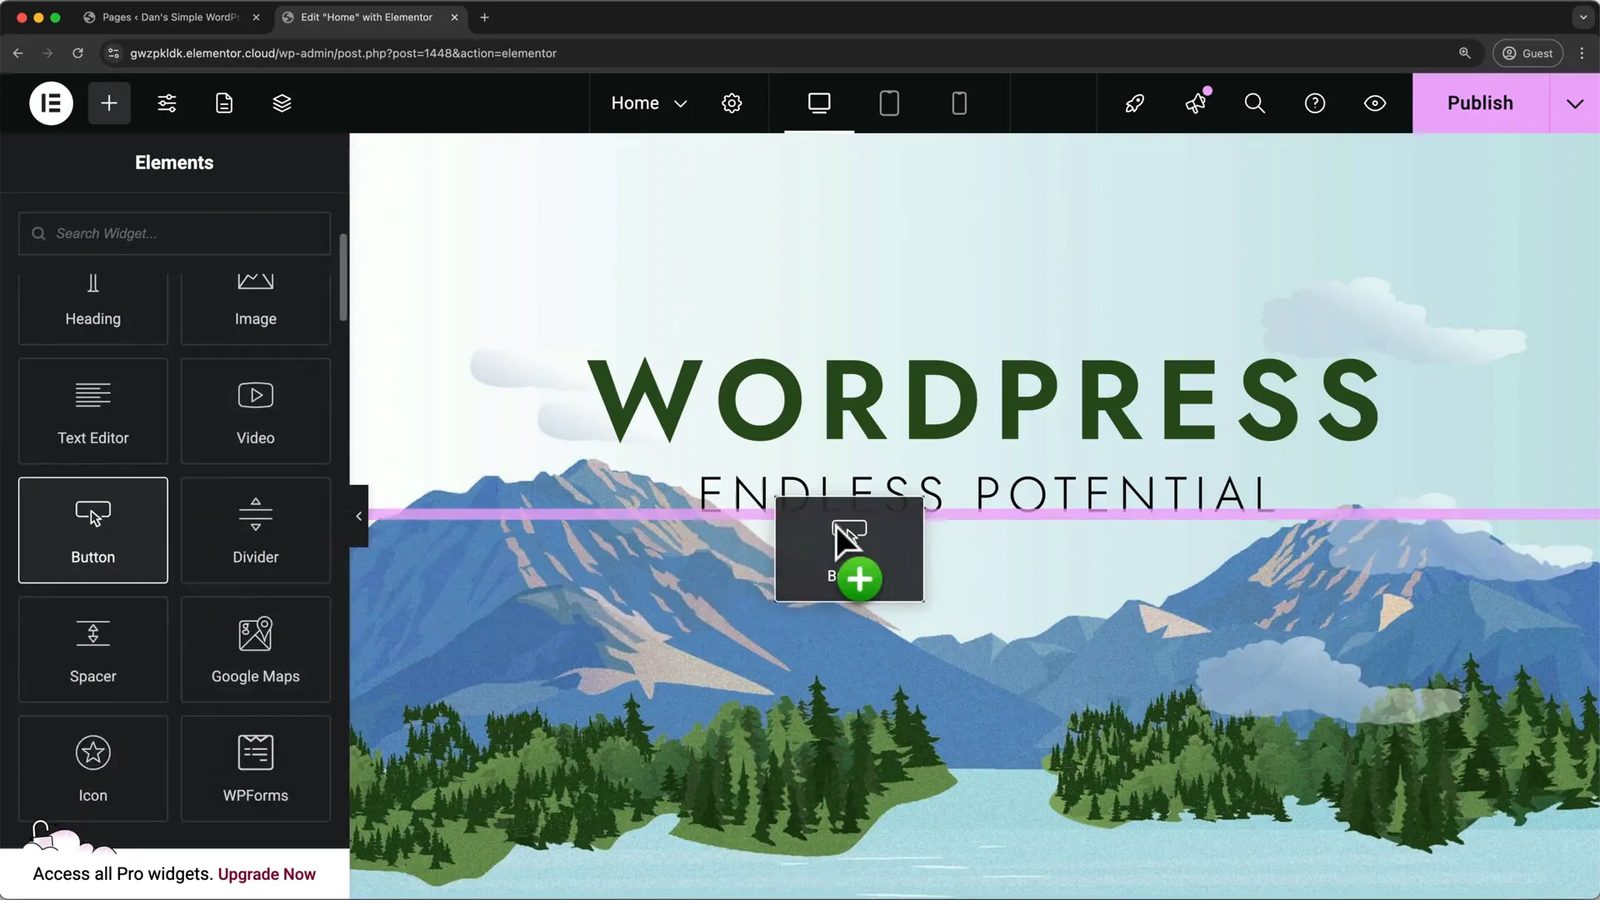
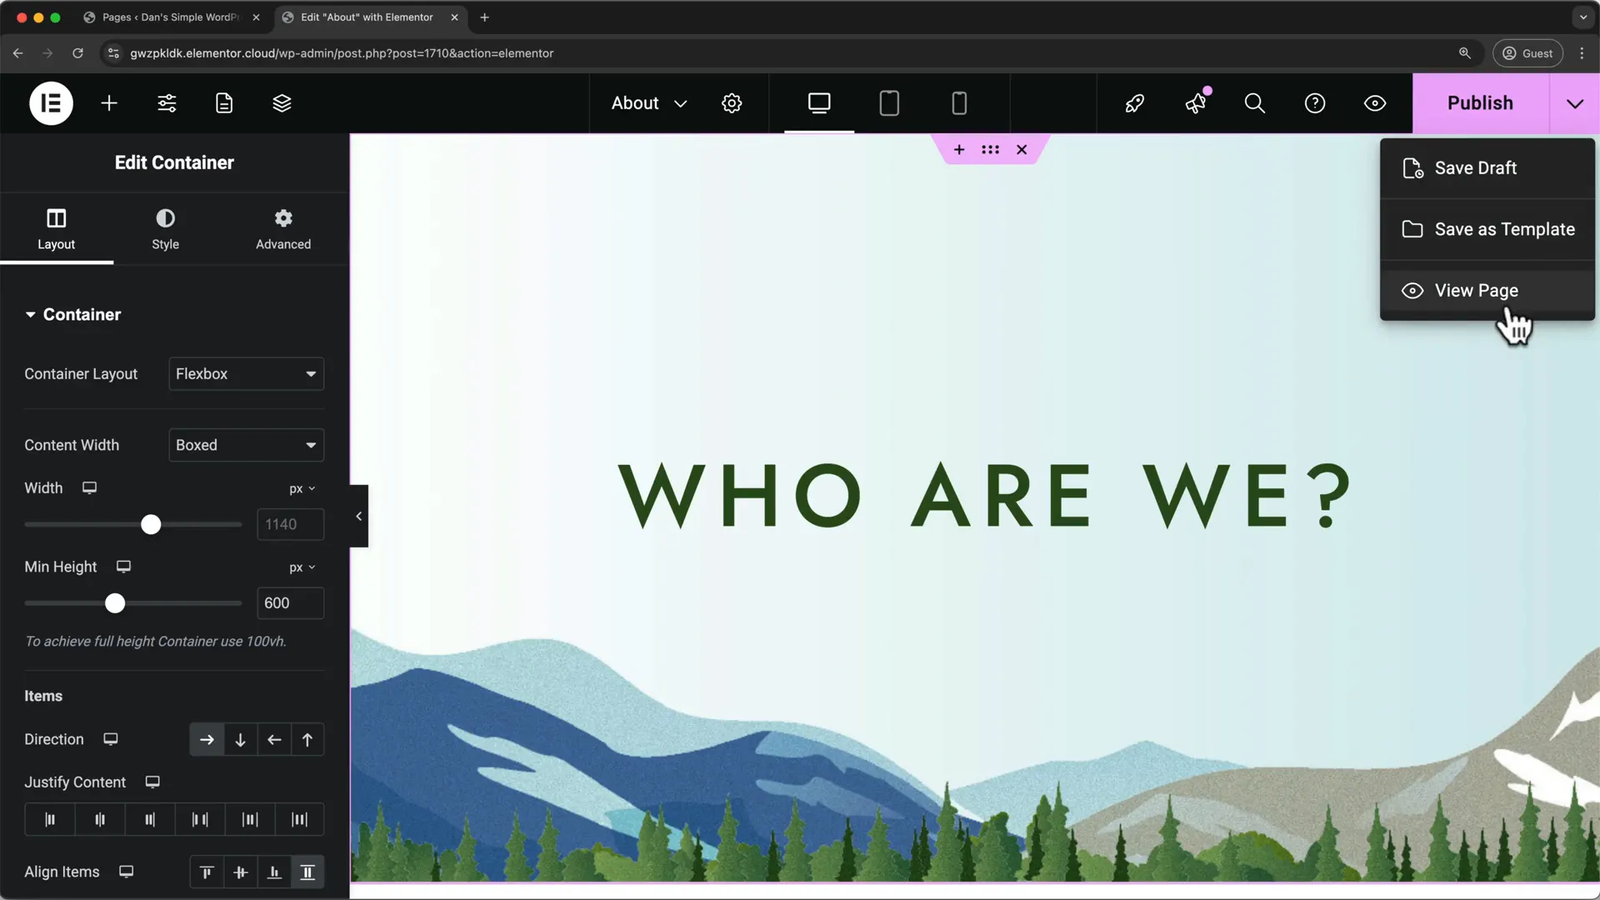
Each page in Elementor is built using containers, which hold various elements like headings, text blocks, images, and buttons. You can open the floating structure panel to see how containers and elements are nested and easily select or move them.

Adding new containers is as simple as clicking the plus icon and selecting a layout — either Flexbox for simple row or column layouts or Grid for more complex two-dimensional designs. For most users, Flexbox is sufficient and responsive across devices.
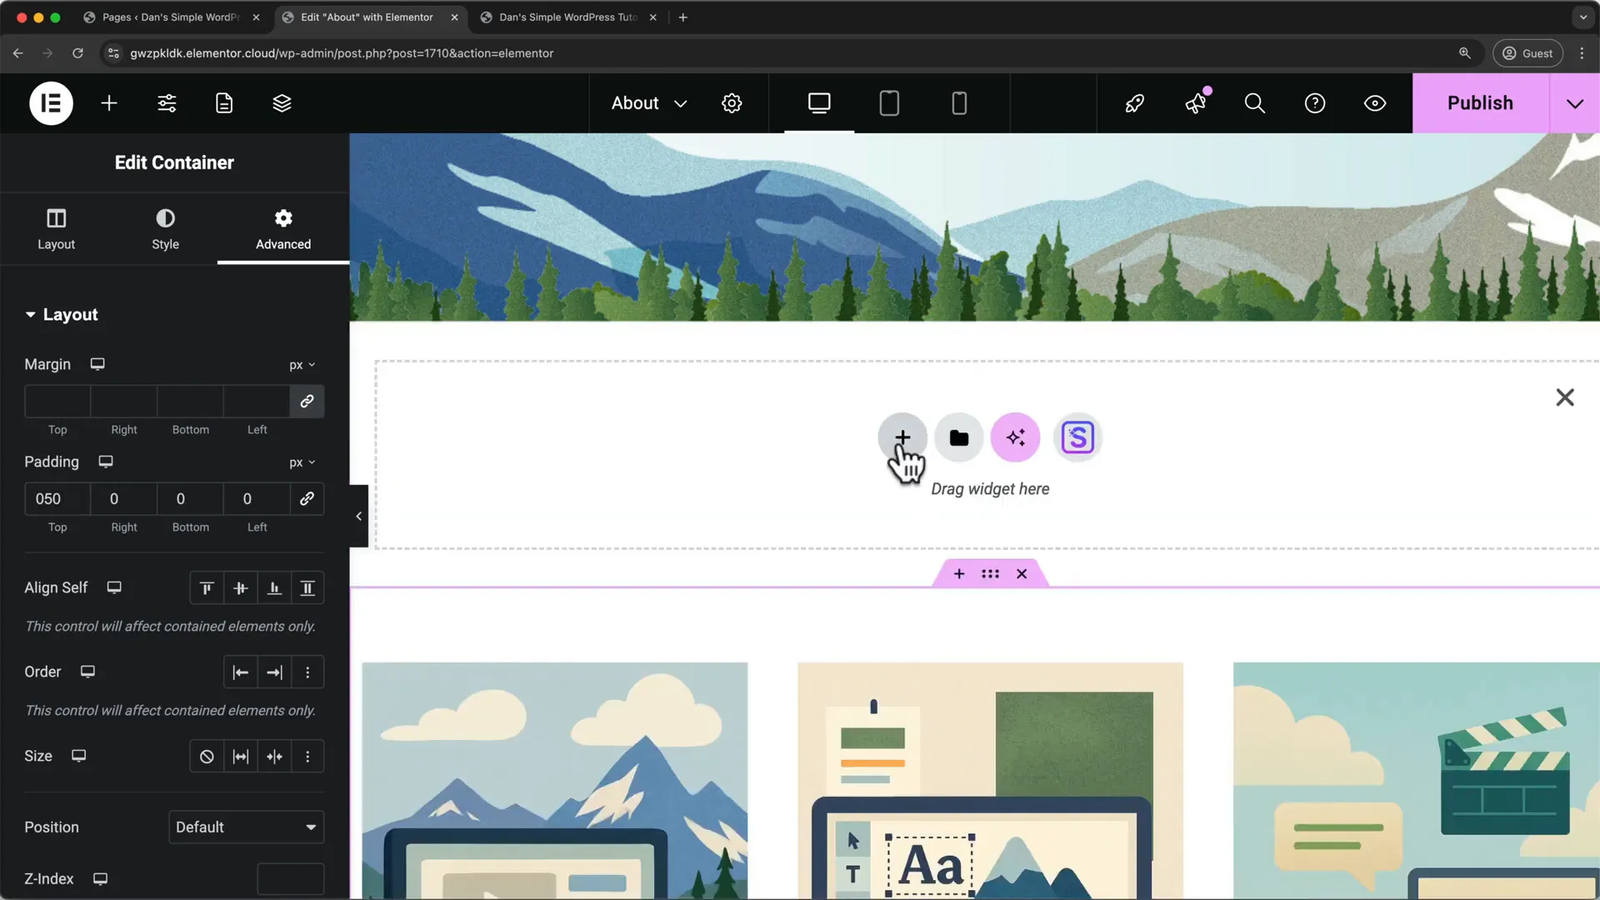
Once you have containers, you can drag and drop elements such as headings, paragraphs, buttons, and images into them. For example, you might add a heading element, then a text editor element for descriptive text, and a button element to encourage user actions like “Get WordPress.”
Deleting elements is straightforward — right-click and choose delete, or remove containers entirely if needed.
Elementor keeps a history of your changes, allowing you to undo or redo actions through the History panel, which can be accessed via the Elementor logo in the top-left corner.
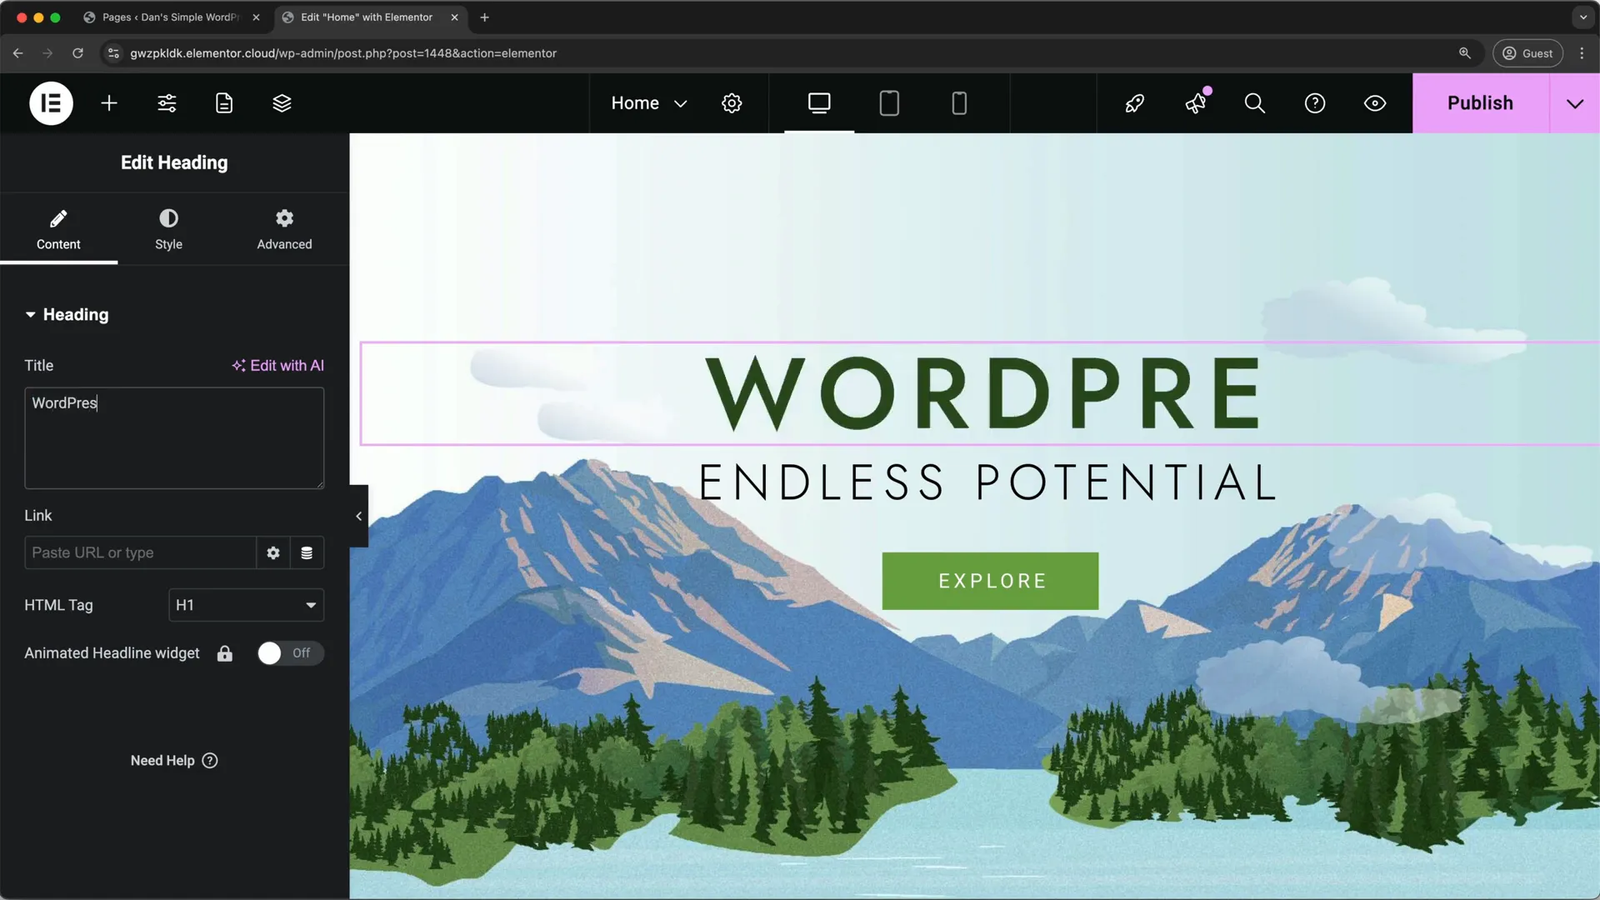
✍️ Text Customization and Styling in Elementor
Text is one of the most common elements on your website, so understanding how to customize it is crucial. When you select a heading or text element, Elementor shows three tabs for editing: Content, Style, and Advanced.
In the Content tab, you can directly edit the text and even add links or change the HTML tag (like H1, H2, etc.) for SEO purposes.
The Style tab lets you control the appearance, including alignment, typography (font family, size, weight, style), text decoration, line height, letter spacing, and text color. You can pick colors from your site’s palette to maintain a consistent brand look.
Advanced options provide further control over margins, padding, motion effects, and responsiveness.
🔘 Designing Buttons for User Engagement
Buttons guide your visitors to take action, such as navigating to other pages or submitting forms. Elementor allows you to fully customize button text, style, and behavior.
Editing a button is similar to text — you can change the label, add links to internal pages (like “Contact Us”), and even add icons from libraries like Font Awesome. Positioning of icons relative to text and spacing can also be adjusted.
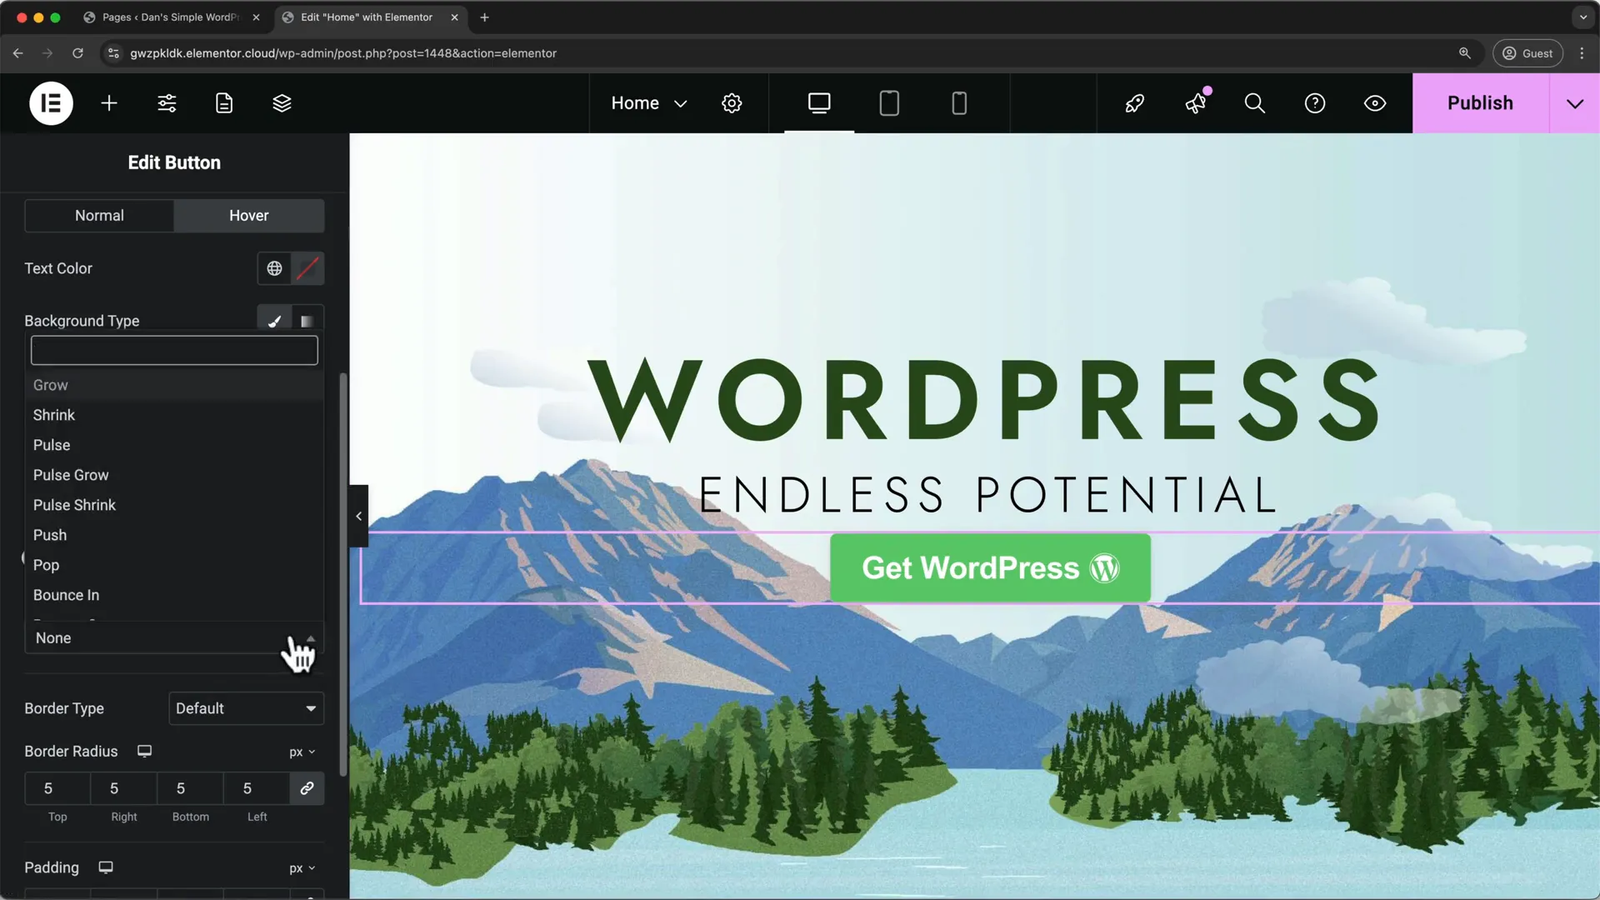
Styling options include text alignment, typography, text color, background color, border radius (to make rounded corners), padding for button size, and box shadows for depth.
Hover effects enhance interactivity, allowing you to change colors, shadows, and add animations when users mouse over buttons.
🖼️ Working with Images and Backgrounds
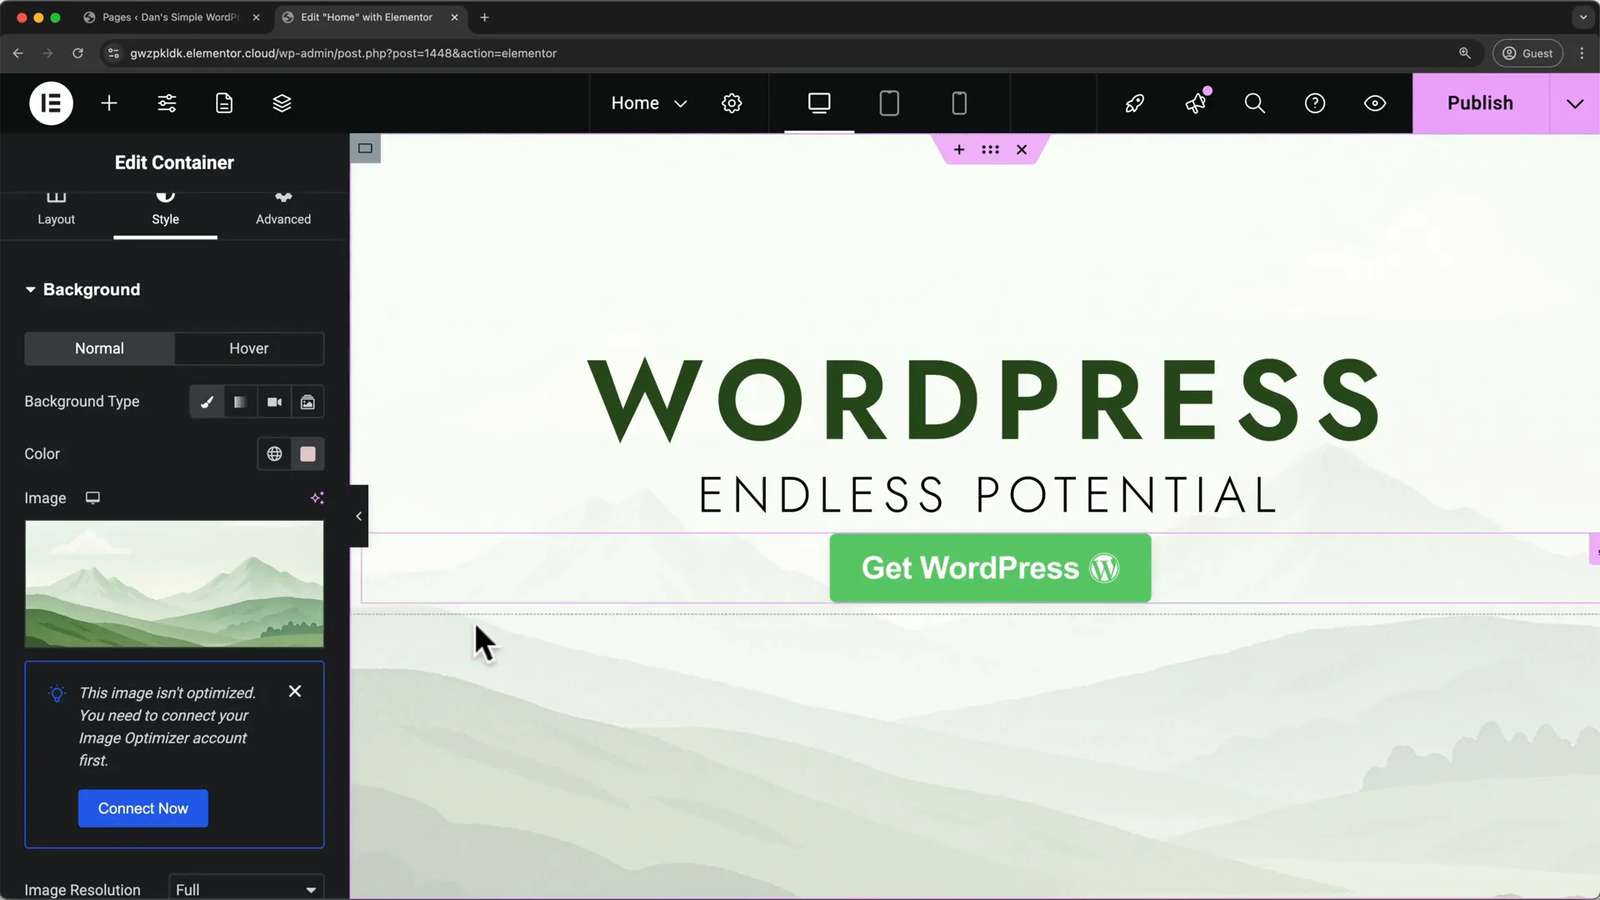
Images play a vital role in website aesthetics and user engagement. Elementor distinguishes between two types of images: image elements and background images.
For image elements, you can replace placeholders with your own images by uploading them to the WordPress media library or using free stock photos integrated within the plugin. After inserting an image, you can resize it, add borders with adjustable radius, and apply shadows to create a polished look.
Background images are set within containers and can be customized extensively. You can choose the image position (center, top center, etc.), attachment (scroll or fixed for parallax effects), size (cover or contain), and apply overlays to adjust brightness or contrast for better text readability.
Elementor also supports gradient backgrounds with two colors and adjustable angles, as well as video backgrounds sourced from YouTube, complete with fallback images and overlay options for clarity.
Additionally, you can create slideshow backgrounds to rotate through multiple images with customizable transition effects and durations.
🧩 Managing Spacing: Margins, Padding, and Separators
Proper spacing is essential for a clean, readable design. Elementor provides tools to control the space inside elements (padding) and outside elements (margin).
Think of padding as the space between the content and the element’s border, while margin is the space outside the element’s border, affecting the distance to neighboring elements.
For example, increasing the top padding of a container adds space inside it, pushing content downward, whereas increasing the margin adds space between that container and others adjacent to it.
Elementor also includes a separator element that can be dragged onto the page to create adjustable blank spaces, useful for visually separating sections without adding margins or padding.
Additionally, you can set minimum height values for containers to ensure consistent vertical spacing across sections.
📐 Building Complex Content Layouts with Flexbox and Grid
To create more sophisticated page structures, Elementor offers two container layout models: Flexbox and Grid.
Flexbox is ideal for simple row or column layouts that adjust responsively across devices. You can add multiple columns inside a container, set their widths as percentages, and control the direction (horizontal or vertical) and alignment.
Grid layouts support two-dimensional designs, making them suitable for complex product listings, galleries, or other intricate arrangements.
For beginners, mastering Flexbox is sufficient for most website layouts. You can start by creating a three-column section like on the homepage, then add images, headings, and text editors into each column.
To maintain consistency, you can duplicate containers and copy/paste styles between elements, speeding up your design workflow.
📚 Using Blocks and Templates for Faster Design
Elementor’s Starter Templates plugin includes not only full page templates but also blocks — reusable sections like testimonials, headers, or call-to-actions that you can insert anywhere on your site.
Instead of building every section from scratch, you can import blocks relevant to your content, customize them, and combine multiple blocks to construct pages quickly.
For example, you might import a testimonial block from one template and a header section from another. After importing, you can delete any unnecessary content to keep your pages clean.
🎨 Customizing Site Colors and Fonts Globally
To maintain a consistent brand identity, it’s important to set your site’s default typography and color palette. Elementor allows you to customize global fonts and colors, which apply across all pages and elements.
You can access these settings via the WordPress Customizer, where you’ll find presets for typography and color schemes to preview. You can modify body and heading fonts separately, adjust font sizes, weights, and choose colors from predefined palettes or custom hex codes.
Additionally, you can set default colors for backgrounds, text, and buttons, ensuring your site maintains a cohesive look without having to style each element individually.
📱 Optimizing Your Website for Mobile and Tablet Devices
Today, the majority of web traffic comes from mobile devices, making mobile optimization essential. Elementor includes responsive design tools that let you preview and customize your website’s appearance on tablets and smartphones.
You can switch between desktop, tablet, and mobile views within the Elementor editor and adjust element sizes, paddings, fonts, and visibility accordingly.
For example, if text looks too large or cramped on mobile, you can set different font sizes specifically for mobile devices. You can also hide sections entirely on certain devices if they don’t translate well to smaller screens.
Taking the time to review and tweak your site’s mobile layout will ensure a smooth user experience across all devices.
📄 Adding and Managing New Pages
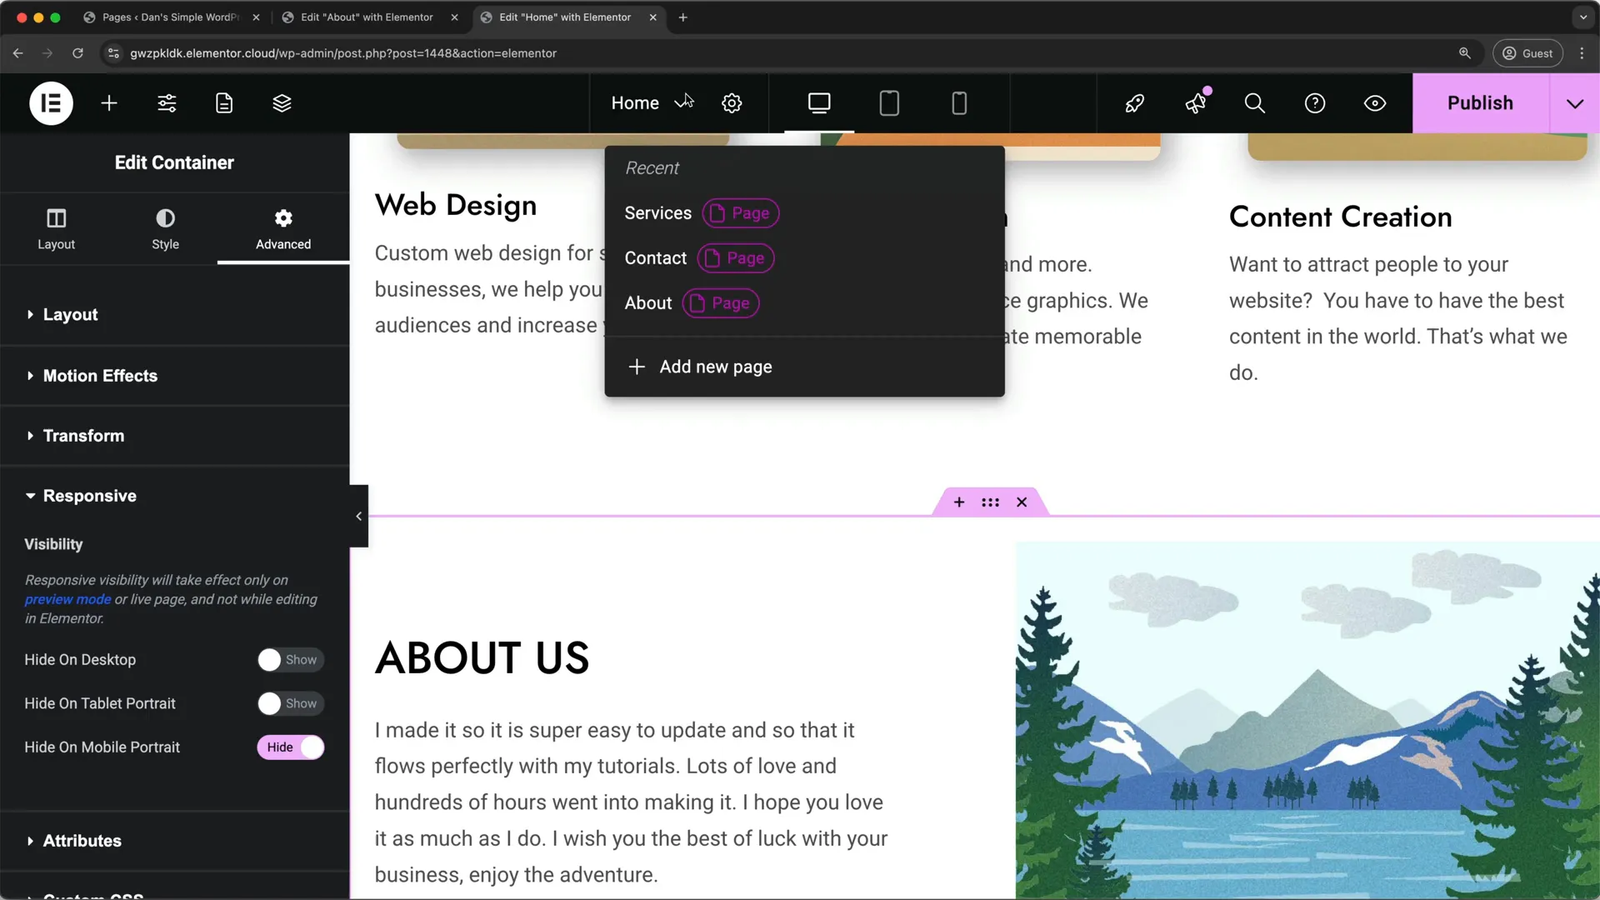
As your website grows, you’ll want to add new pages such as “Projects,” “Blog,” or “Services.” Elementor makes this easy by allowing you to create new pages directly from the WordPress dashboard or the Elementor interface.
Create a new page, give it a title, and start designing it with Elementor using templates, blocks, or by copying sections from other pages for consistency.
Once published, new pages need to be added to your site’s navigation menu. Navigate to WordPress “Appearance” > “Menus,” select the new page, add it to the menu, and arrange it by dragging to the desired position. You can also create dropdown menus by indenting items to make submenus.
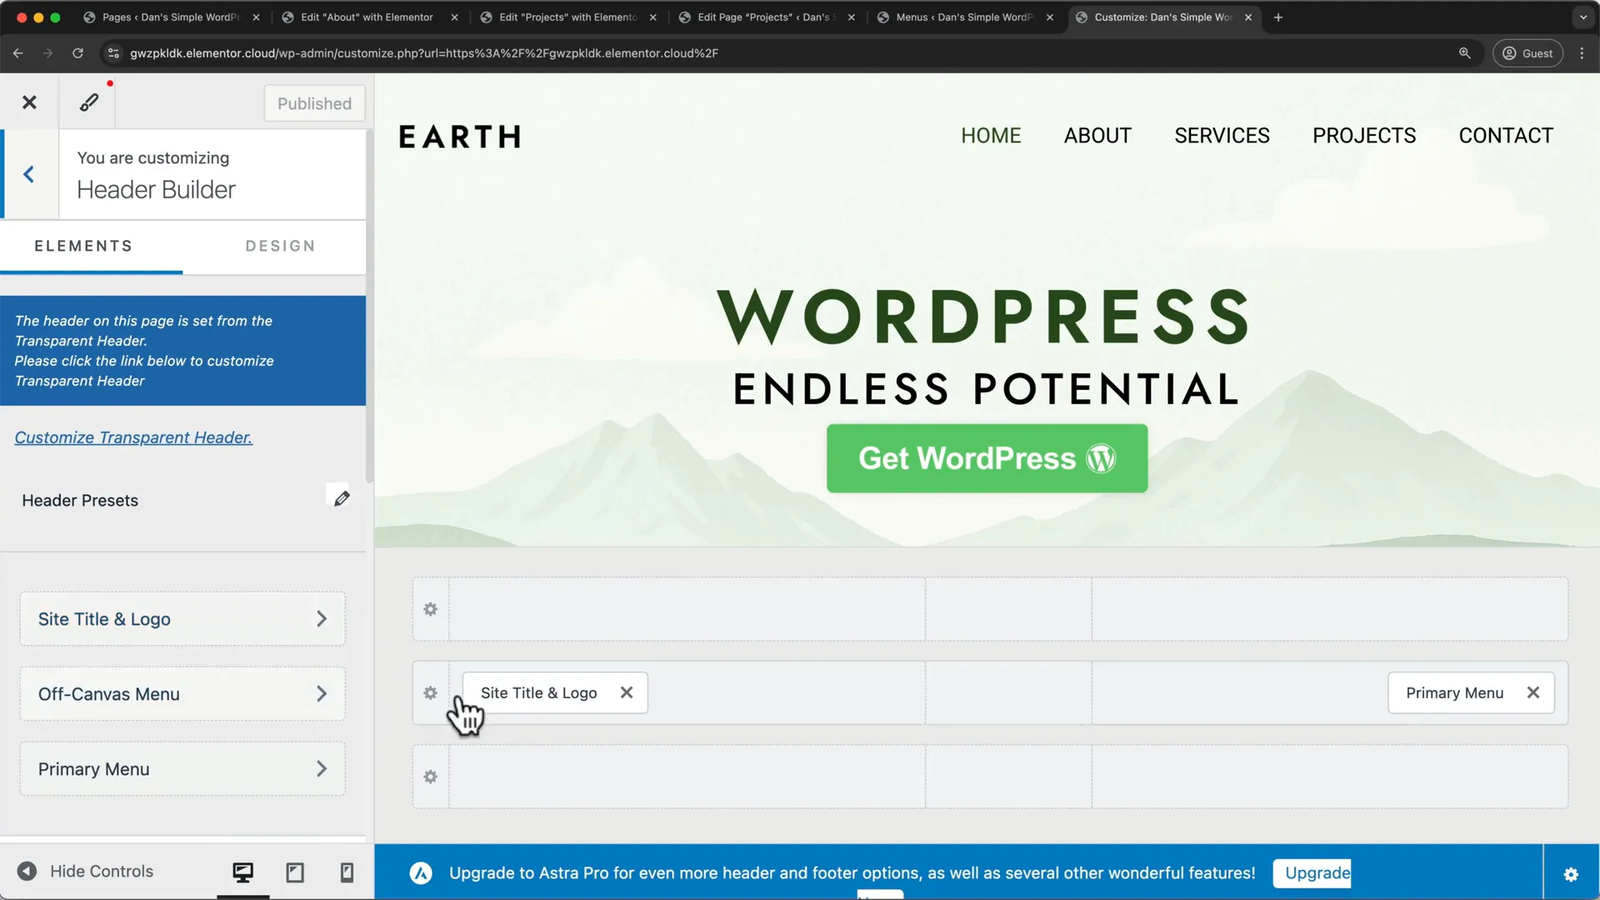
🔝 Customizing Your Website Header and Navigation Menu
The header is the first thing visitors see and typically contains your logo and main navigation. Using the WordPress Customizer and Elementor’s Header Builder, you can upload your logo, adjust its size, and reposition elements within the header.
You can also customize menu colors for normal and active states, ensuring the navigation matches your brand palette. Adjust transparency and background colors for different header styles such as transparent headers that overlay the hero section.
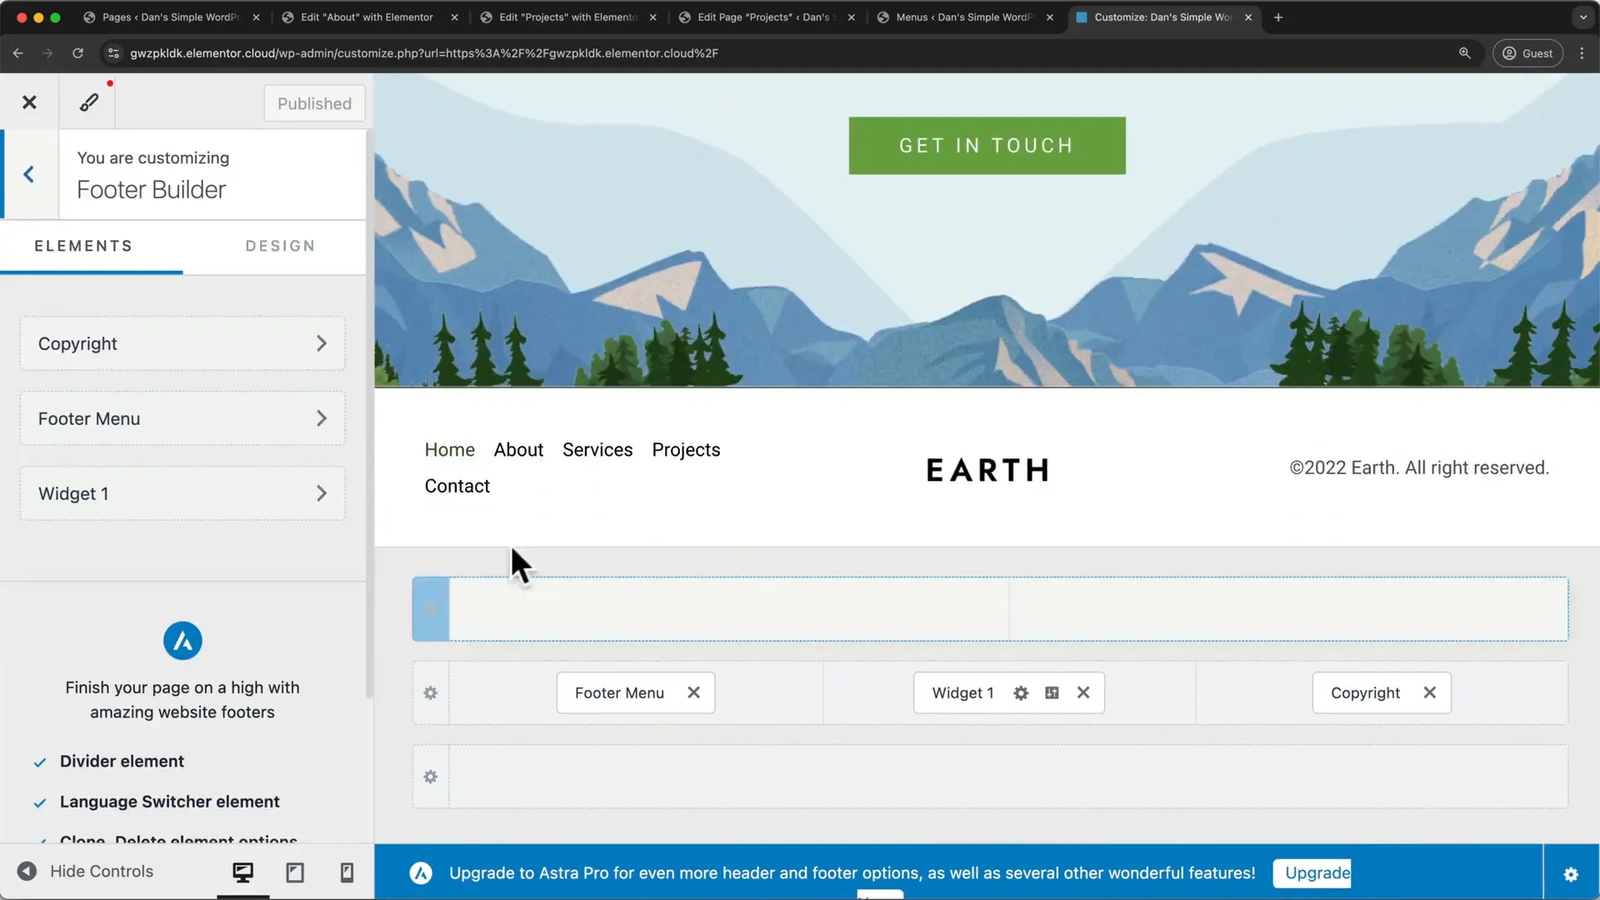
📜 Editing the Website Footer
Similar to the header, the footer can be customized using Elementor’s Footer Builder. You can edit copyright text, add your logo, and include additional menu links or contact information.
Make sure to update the copyright year dynamically so it always shows the current year without manual updates. You can also set the footer layout style to inline or stacked depending on your design preference.
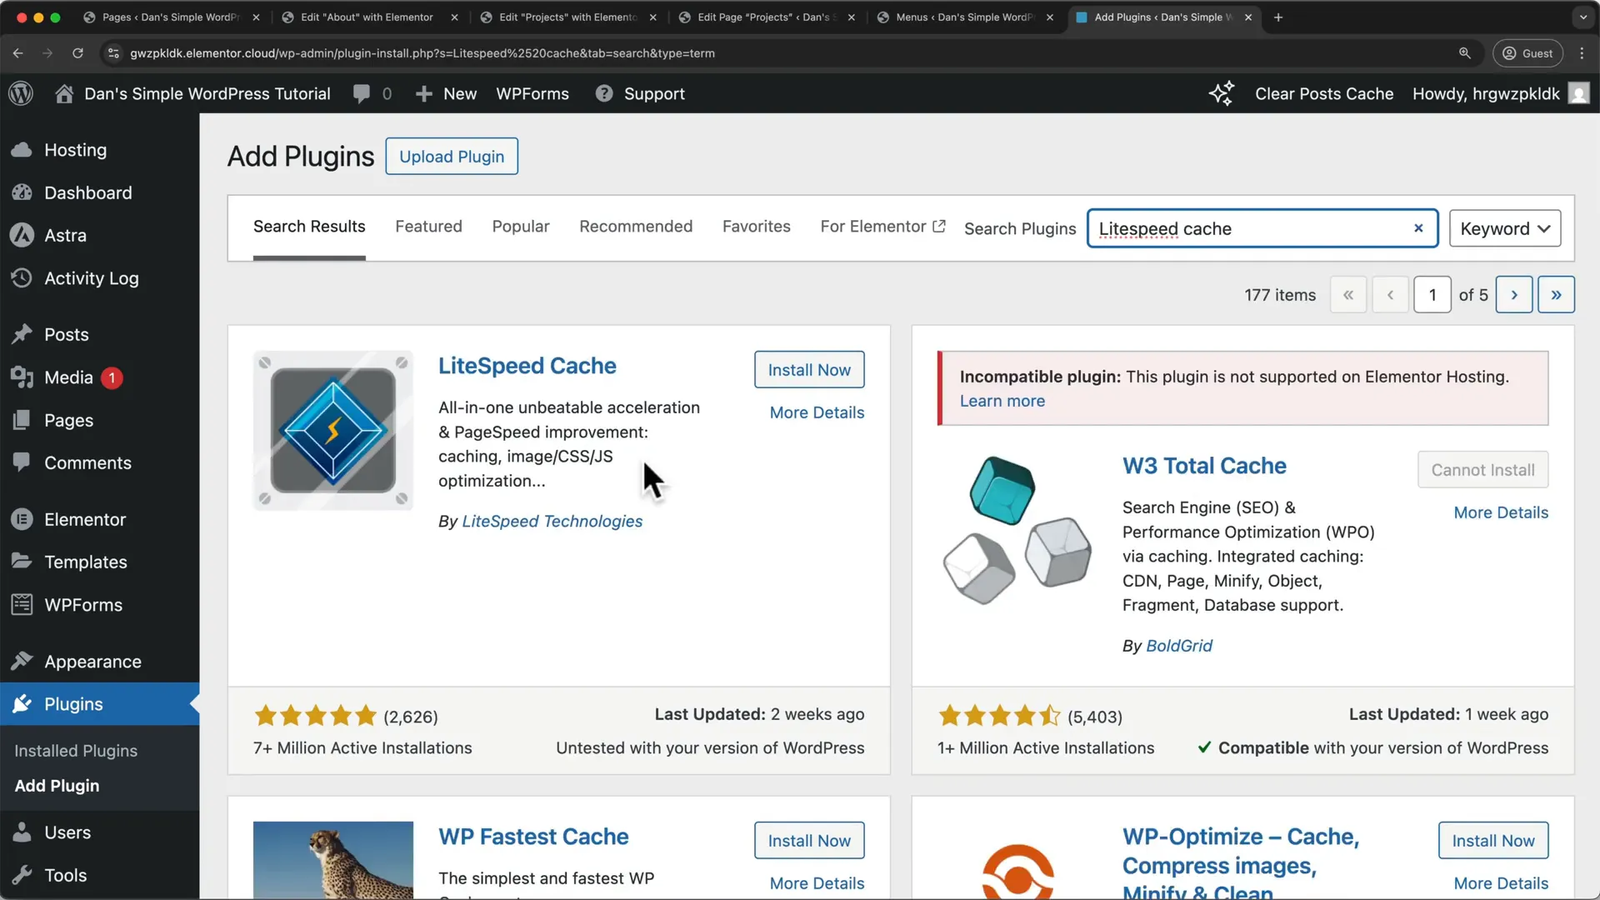
⚡ Enhancing Website Speed with Cache Plugins
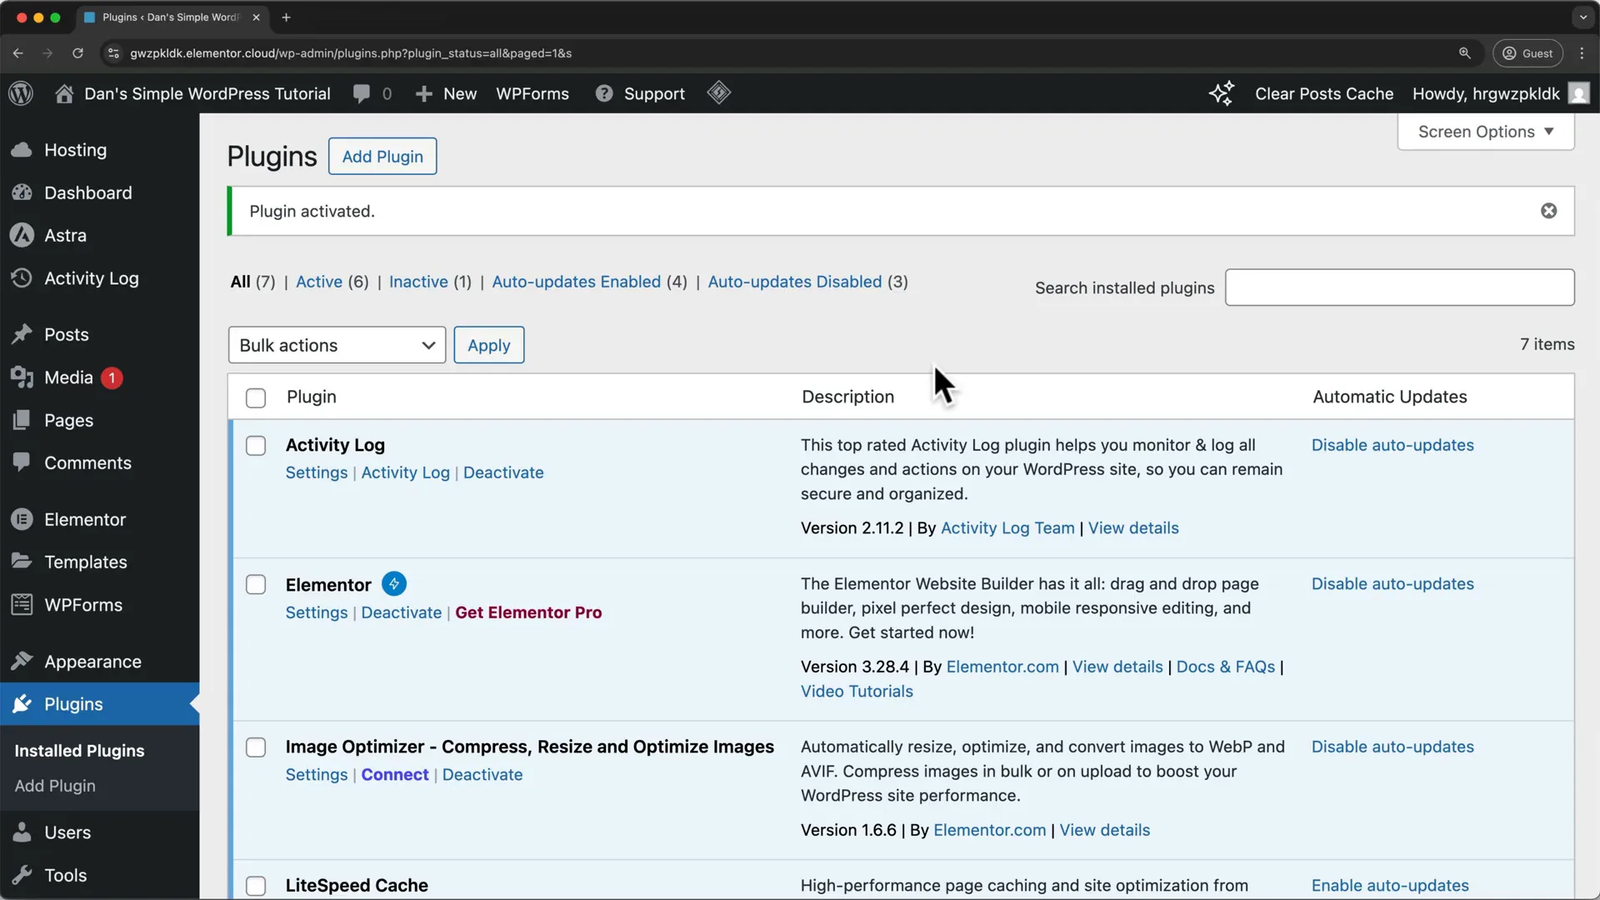
Website speed is crucial for user experience and SEO. Elementor recommends installing a caching plugin like LiteSpeed Cache to improve your site’s load times by storing static versions of your pages.
Install and activate the LiteSpeed Cache plugin from the WordPress plugin repository. You can temporarily disable it during development to avoid caching issues but enable it once your site is live for optimal performance.
🌐 Connecting Your Custom Domain for a Professional Website
Finally, to make your website accessible under your personalized web address (like www.yourwebsite.com), you need to connect a custom domain.
Elementor offers a free custom domain for the first year with their hosting plans. You can search for available domains through their partner Hover, register your domain, and link it to your Elementor-hosted website.
The domain setup involves configuring DNS records, including CNAME and A records, to point your domain to Elementor’s servers. This process may take some time to propagate globally.
Once connected, your temporary domain will redirect to your custom domain, giving your website a professional touch and improving brand credibility.
Frequently Asked Questions (FAQ) ❓
What is Elementor and why should I use it for WordPress?
Elementor is a popular WordPress page builder that allows you to create beautiful websites using a drag-and-drop interface, without any coding. It offers powerful design tools, templates, and responsive controls, making it ideal for beginners and professionals alike.
Do I need to know how to code to use Elementor?
No. Elementor is designed to be user-friendly and requires no programming knowledge. You can build entire websites visually with intuitive controls.
Can I use Elementor with any WordPress theme?
Elementor works best with lightweight, compatible themes like Astra or Hello Elementor. These themes provide a flexible foundation optimized for Elementor’s features.
Is Elementor hosting necessary?
While you can use Elementor with any WordPress hosting, Elementor hosting provides an all-in-one solution that is optimized for Elementor websites, simplifying setup and maintenance.
How do I make my website mobile-friendly with Elementor?
Elementor includes responsive design tools that let you preview and customize your site’s appearance on tablets and phones. You can adjust fonts, spacing, and even hide sections to ensure your site looks great on all devices.
Can I add new pages after launching my site?
Absolutely! You can add new pages anytime through the WordPress dashboard or Elementor interface, then add them to your site navigation menu.
How long does it take for my custom domain to connect?
Domain propagation can take anywhere from a few minutes to 48 hours, but typically your domain will connect within a few hours after DNS settings are updated.
Is there a cost associated with Elementor?
Elementor offers both free and premium plans. Hosting and some advanced features require paid plans, but the free version is a good starting point. Using affiliate links or promotional discounts can help reduce costs.
How can I improve my website’s speed?
Installing a caching plugin like LiteSpeed Cache, optimizing images, and using a lightweight theme can significantly improve your website’s loading speed.
Where can I get support if I have issues?
Elementor has a large community, documentation, and support forums. You can also reach out to your hosting provider or consult tutorials like this one for guidance.
Conclusion
Building a WordPress website with Elementor in 2025 has never been easier or more accessible, thanks to intuitive tools and comprehensive hosting solutions. By following this step-by-step guide, you’ve learned how to set up hosting, install WordPress, choose and customize themes and templates, create engaging content with Elementor’s drag-and-drop builder, optimize for mobile devices, add new pages, and connect a professional custom domain.
With these skills, you can confidently manage your website, keep it updated, and grow your online presence cost-effectively. Remember, practice is key — explore Elementor’s features, experiment with layouts, and make your website uniquely yours. If you have any questions, don’t hesitate to seek help from the vibrant WordPress and Elementor communities.
Happy website building!
