

If you’re like me, you’ve probably said, “I’ll turn that video into a blog post later,” but then never got around to it. It always feels like too much work.
Good news — I found an easier way. Now I can turn a long video into a clean, ready-to-post blog article in just a few clicks. And nope, it’s not ChatGPT. This method is faster and works better for video content.
In this post, I’ll show you exactly how I do it — step by step. If you make videos, do marketing, or just want to reuse your content without wasting time, this will help you a lot.
Step 1: Understanding the Limitations of ChatGPT for Video Transcription 🎥
Before I dive into my secret weapon, let’s talk about why ChatGPT isn’t the best tool for converting videos into blog posts. ChatGPT is a powerful AI, but it has some significant limitations when it comes to working with video content.
- No native video transcription: ChatGPT can’t watch or listen to videos directly. You need to provide it with a transcription first.
- Dependence on third-party transcription tools: You either have to find a custom GPT model that supports transcription or use a separate service to transcribe your video.
- Manual input of instructions: After you get the transcript, you have to paste it into ChatGPT and write detailed instructions for the blog post — things like tone, length, style, and SEO keywords.
- Inconsistent SEO optimization: Even if you tell ChatGPT to act as an SEO specialist, it won’t fully optimize your article for search engines, especially with formatting and keyword placement.
- Extra manual work: After ChatGPT generates the post, you still need to edit, add links, format it properly, and upload it to your website.
Basically, it’s a hassle and time-consuming process. If you value your time like I do, you start looking for a better solution.
Step 2: Discovering Video to Blog — The Game Changer 🔄
After testing multiple tools, Video to Blog caught my eye and has become my go-to platform for repurposing videos into blog posts. The interface is clean, straightforward, and, best of all, there’s no credit card required to get started.
Here’s how I use it:
- Open the Video to Blog website and create an account.
- Upload a video file or paste a YouTube URL — I usually paste the URL because it’s quick and convenient.
- Set custom instructions to guide the AI on tone, style, and length.
- Choose visuals like screenshots, AI-generated images, or stock photos.
- Configure SEO keywords and other post settings.
- Hit “Generate” and wait a minute or two for the blog post to be ready.
This process automates most of the tedious steps and produces a clean, well-structured blog post that requires minimal editing.
Step 3: Uploading or Pasting Your Video Link and Setting Custom Instructions ✍️
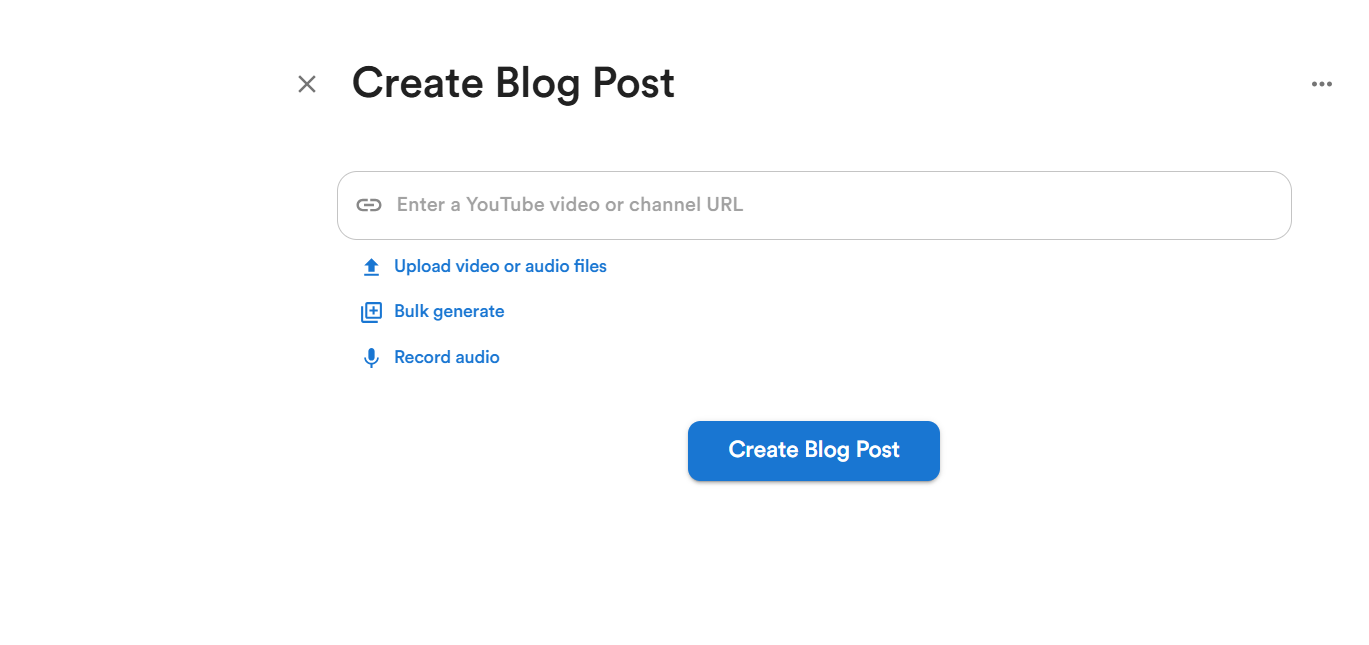
Once you’re logged in and ready, the first thing you’ll see is a simple upload window. You can either:
- Upload a video file directly from your computer, or
- Paste a YouTube link (my preferred method).
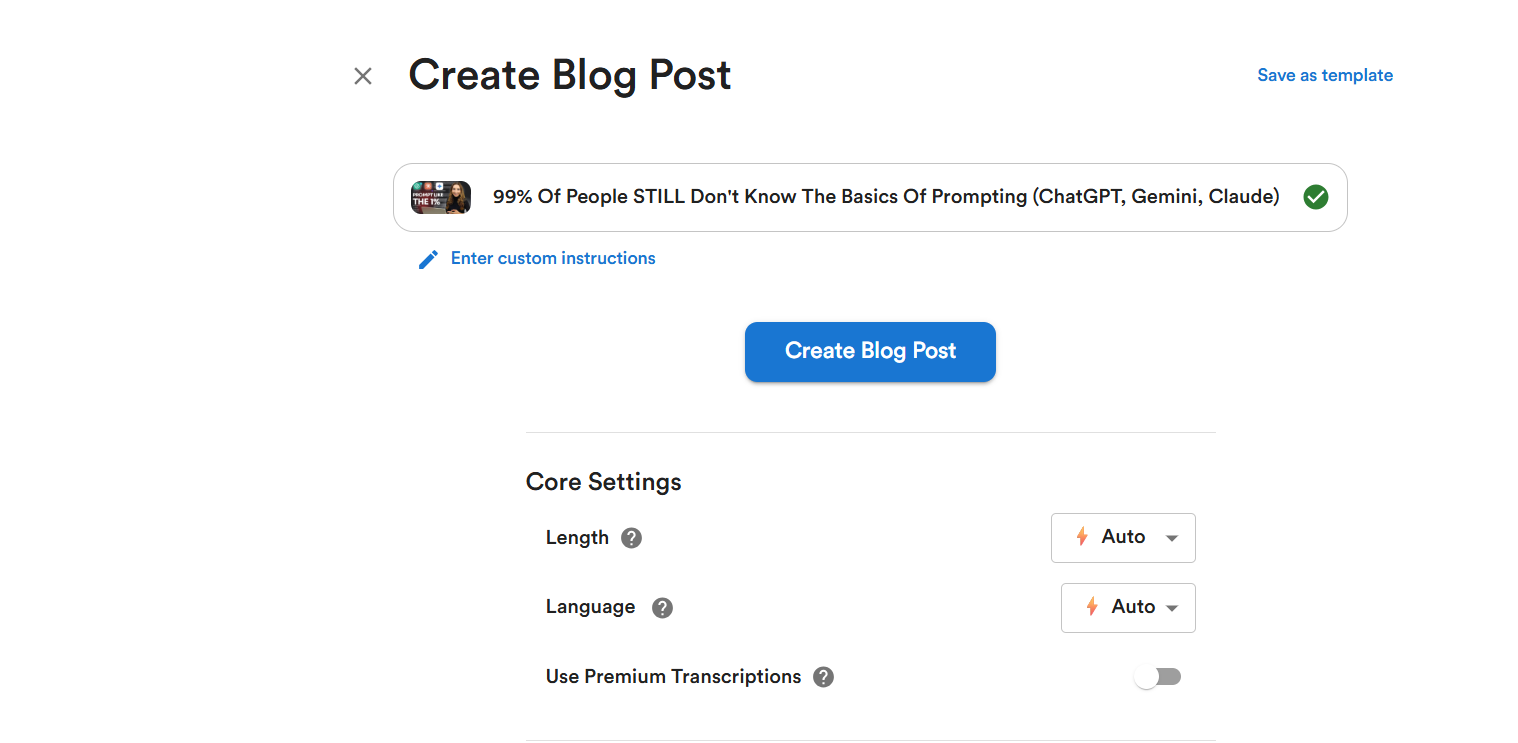
For example, I pasted a link to a YouTube video I wanted to turn into a post. This video is perfect for repurposing because it’s packed with useful information.
Next, click on “Enter Custom Instructions.” This is where you get to be the boss. You can write exactly how you want the AI to approach the writing, from tone and style to the inclusion of jokes or bullet points.
For this demonstration, I kept it simple: write in a friendly tone with jokes. You can also copy your detailed instructions from ChatGPT if you have a preferred template.
Step 4: Choosing Visuals and Post Length 🖼️
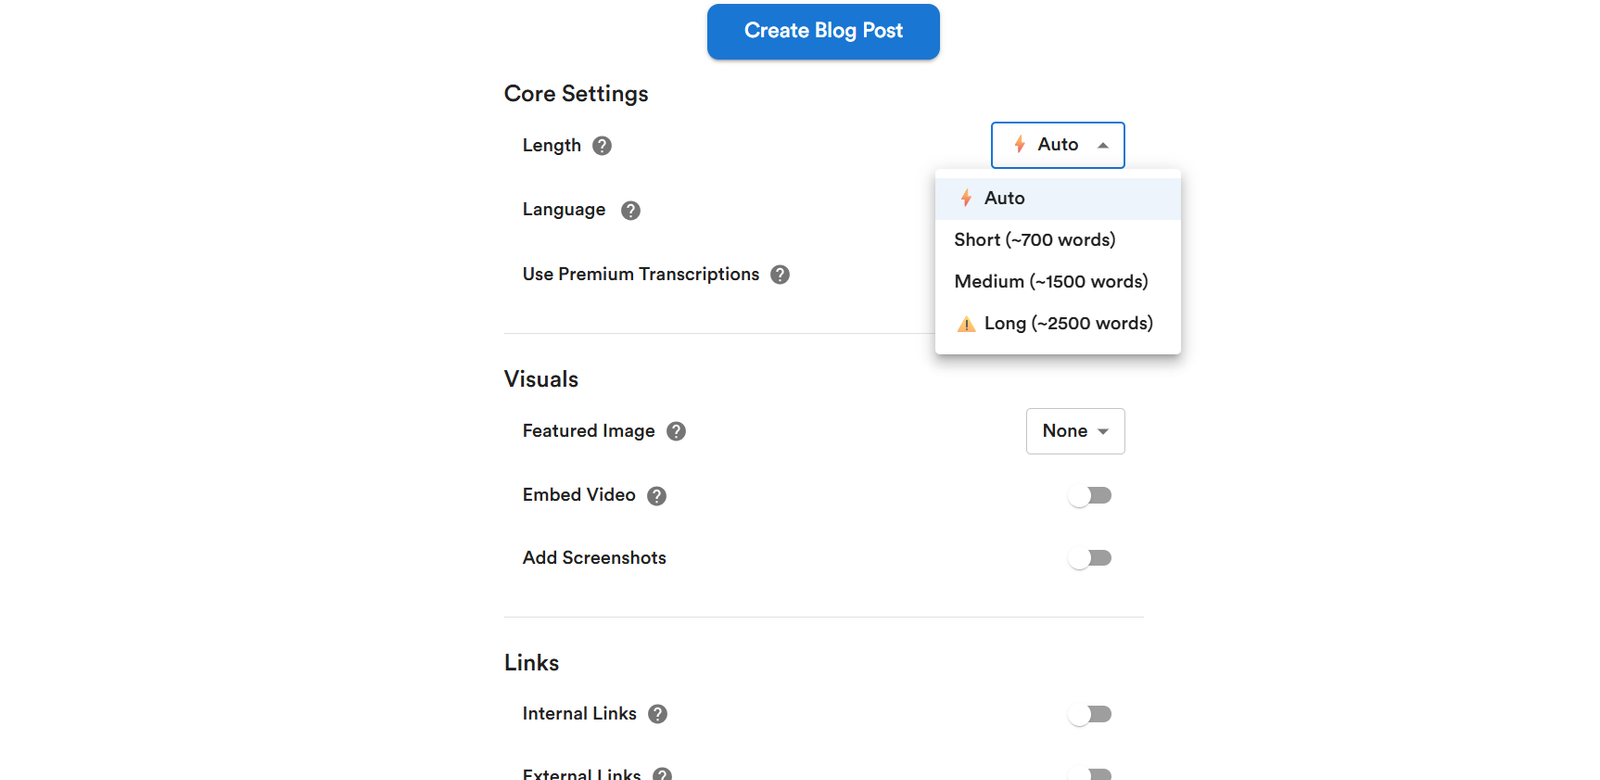
Scrolling down, you’ll find options to customize the visuals for your blog post. You can:
- Include screenshots from the video,
- Use AI-generated images, or
- Pick stock photos from Unsplash.
You can embed the original video, add custom call-to-action buttons with your preferred colors, and select the article length — auto, short, medium, or long — which intelligently adjusts based on the video’s duration.
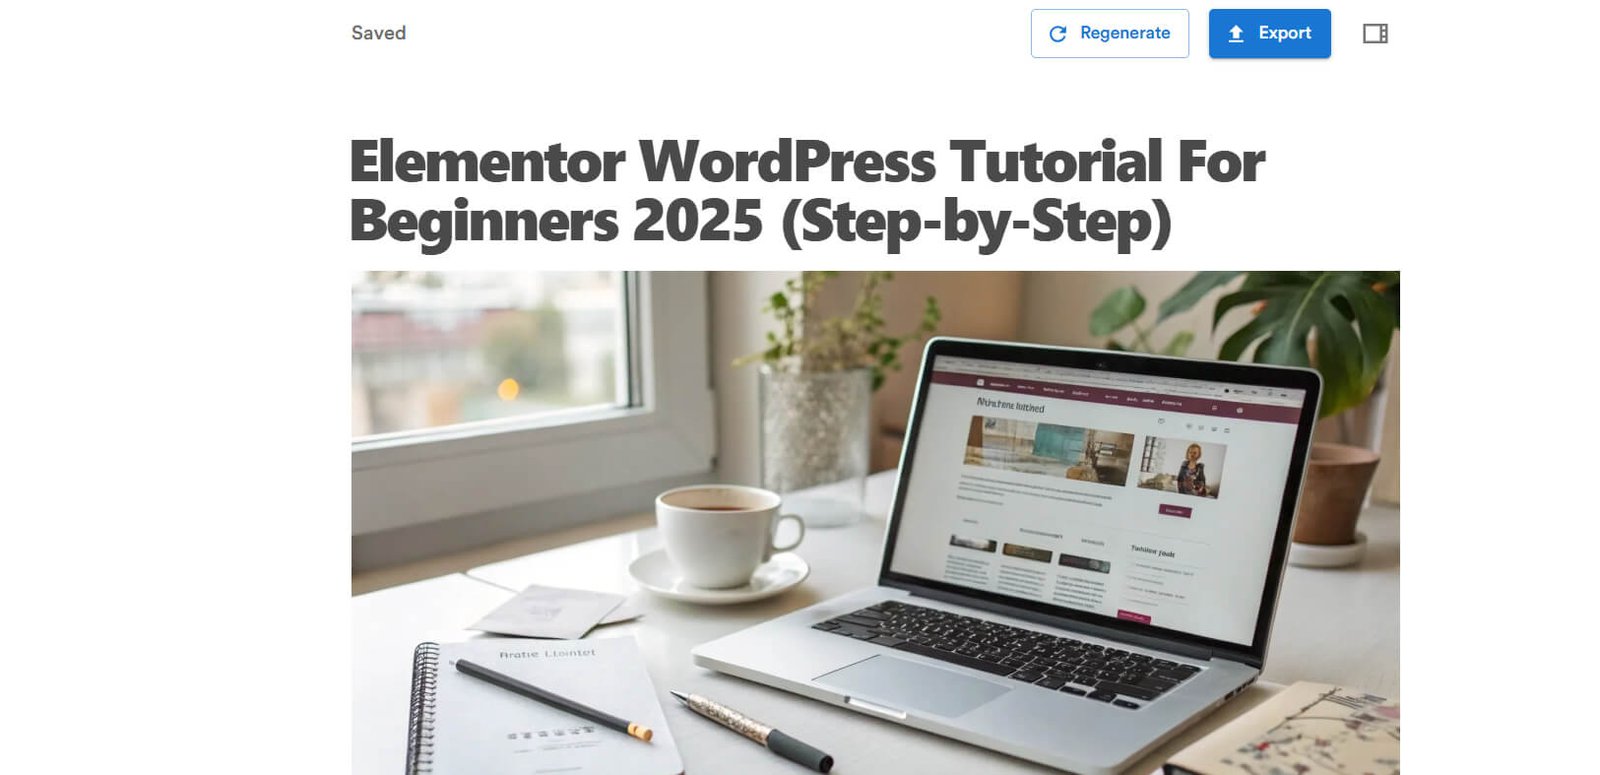
The system also generates a feature image using AI or captures it directly from the video. The best part is the step-by-step screenshot system that automatically extracts key frames to match each section of the article text.
Step 5: Setting Language, Tone, SEO, and Other Options 🌐
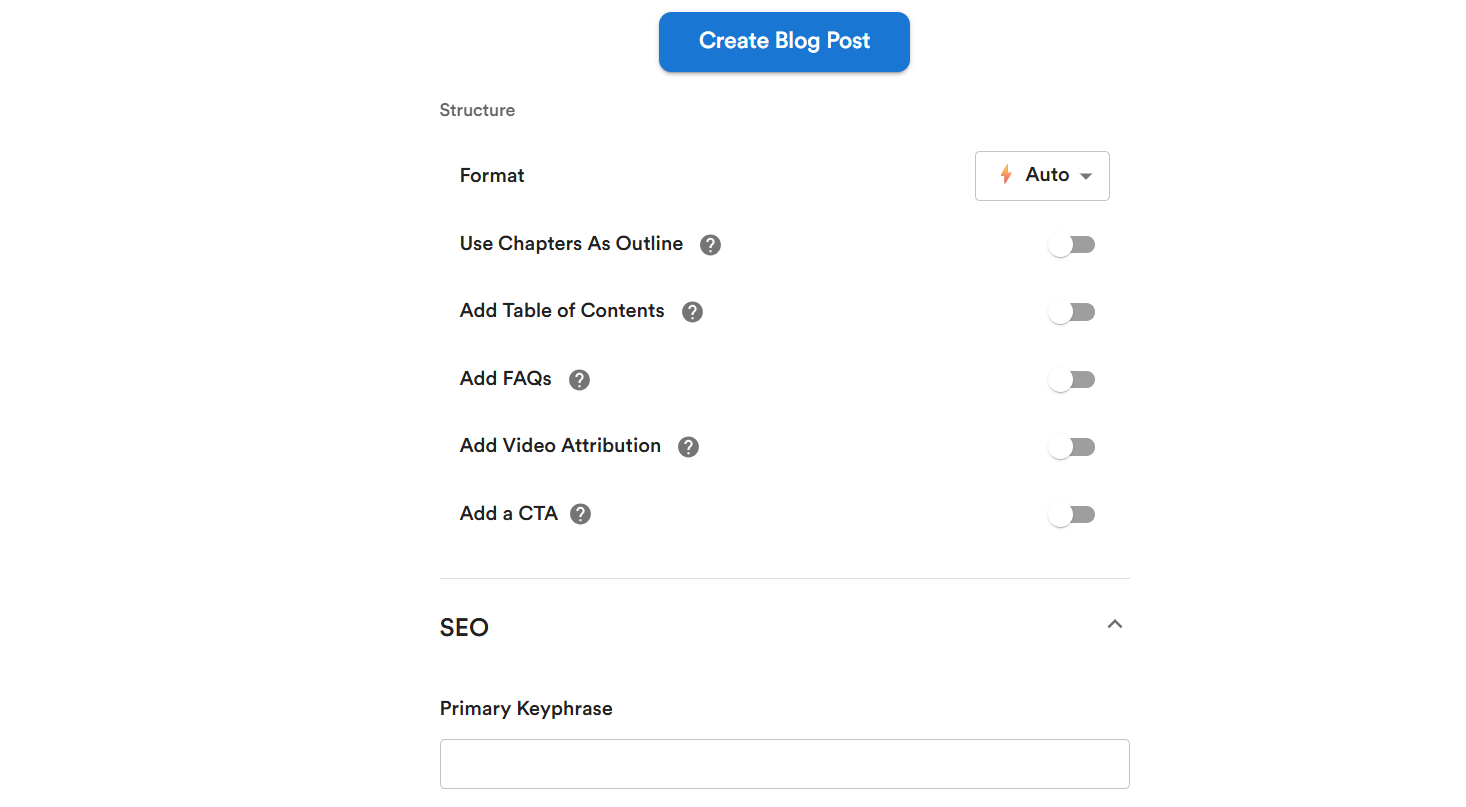
Under “More Options,” you can fine-tune your post further:
- Language: I set it to English, but there’s an impressive list of supported languages.
- Tone: I picked an optimistic and first-person point of view to make it sound like I wrote it myself.
- SEO Keywords: This is crucial. I typed in “deep seek AI” and “video to blog AI” to make sure these keywords appear naturally in headings and paragraphs without keyword stuffing.
- Additional features: You can add a table of contents, FAQs, or attribution, but I skipped those for this run.
Step 6: Generating the Blog Post and Editing 📝
With everything set, all that’s left is to hit the generate button and wait. Since my video was 30 minutes long, it took about a minute or two to produce the blog post.
Video to Blog does more than just transcribe:
- It reorganizes the text into a polished article instead of giving you a raw transcript.
- Filters out filler words and repeated phrases that don’t belong in print.
- Creates a coherent, thematically on-point blog post with visuals in place.
Basically, it delivers a tighter, more readable version of my original script.
If I want to tweak anything, I just type a forward slash to open an editor. From here, I can add new text, insert extra screenshots, or search Unsplash for images — all without leaving the page.
Need something specific? The built-in AI image generator lets me create custom images, or I can upload my own photos, like the post thumbnail.
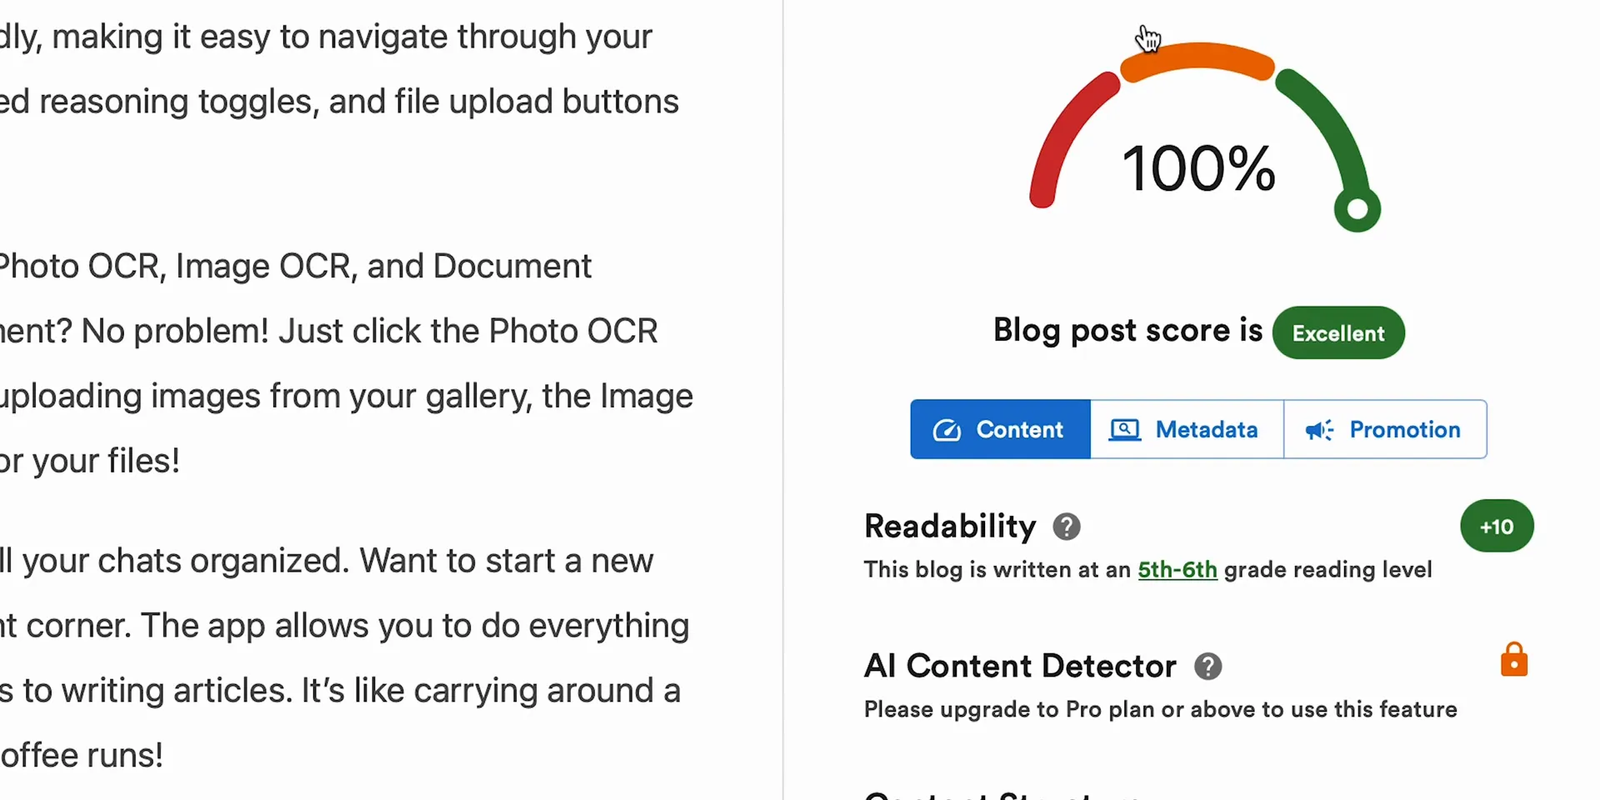
Step 7: Analyzing SEO and Metadata 📊
One of my favorite features is the built-in analytics that predicts how well the post will perform in search engines. For this post, it scored a perfect 100 out of 100!
The tool checks important SEO factors such as:
- Readability and length
- Paragraph and sentence length
- Keyword density and placement
- Use of long sentences and varied sentence structure
If you switch to metadata view, you’ll see AI-suggested titles, descriptions, and URL slugs — all ready for you to use or regenerate if you want a different option.
The only manual step is choosing your own tags.
Step 8: Creating Promo Texts and Publishing 🚀
Video to Blog also saves you time by generating promotional texts for social media and email marketing in one click. You get ready-made posts for Instagram, Facebook, and email campaigns — perfect for boosting your blog’s reach.
If you want to review the entire video transcript, you can access it anytime from within the platform.
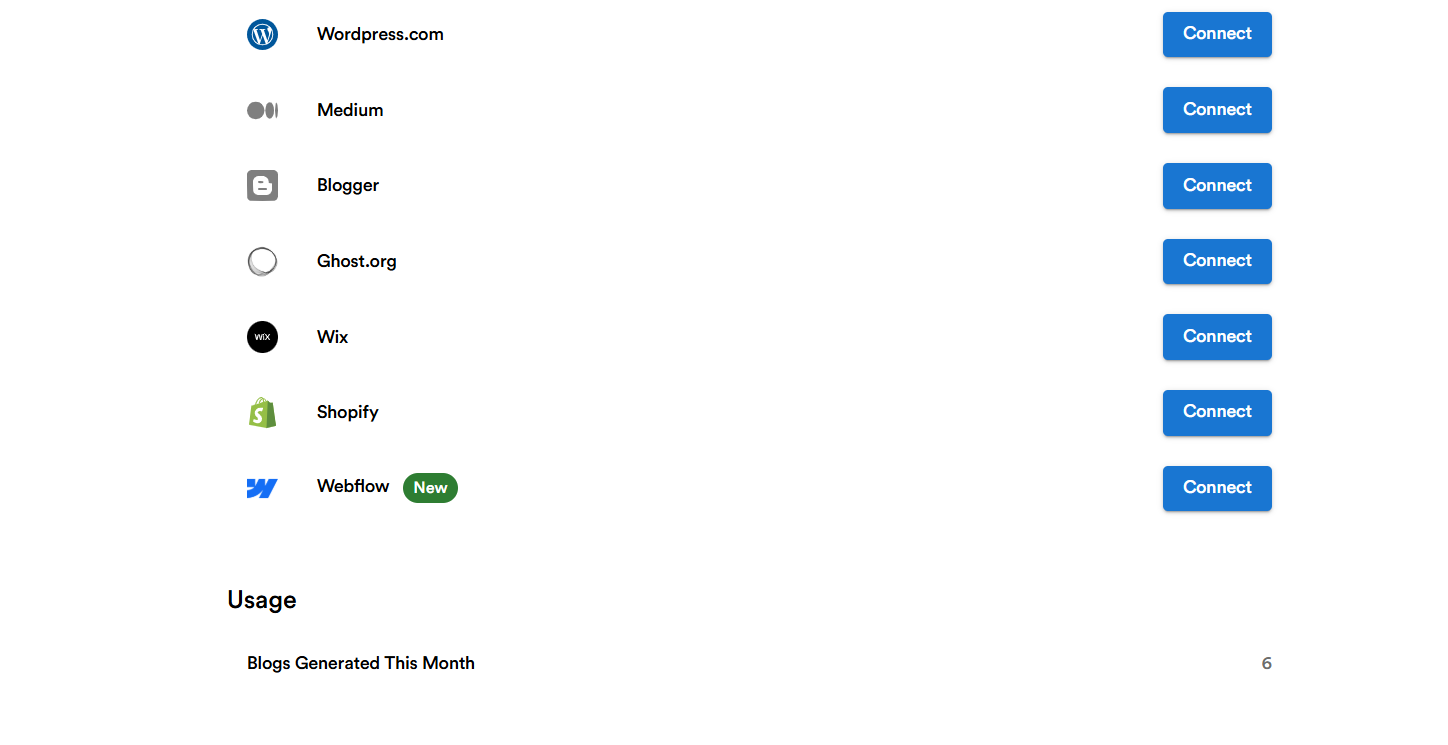
When you’re happy with your post, hit publish, and it can be sent straight to WordPress. But it also supports exporting to Wix, Shopify, Ghost, Medium, or downloading as Word, PDF, HTML, or Markdown files.
I often embed the original video at the top of the blog post so readers can either watch or skim the content.
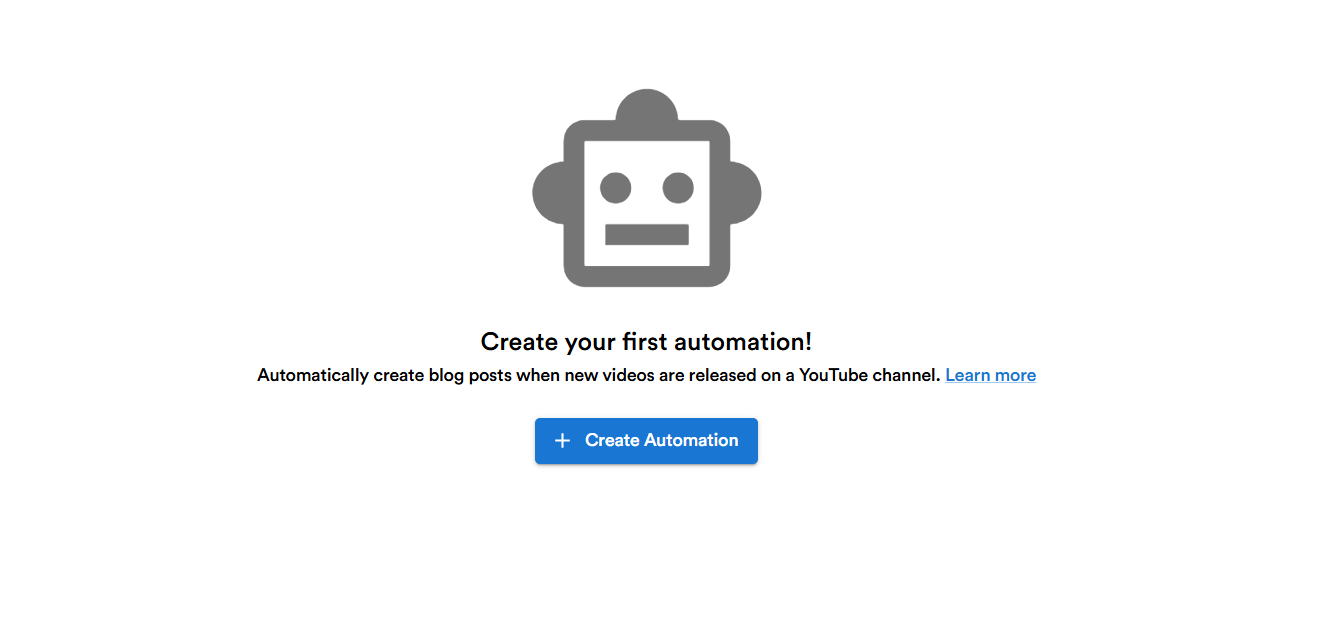
Step 9: Automating Blog Post Creation for Your Channel ⚙️
If you produce a lot of videos like I do, manually converting each one can add up quickly. That’s why automation is a game changer.
You can connect your YouTube channel to Video to Blog and customize the settings just like with manual conversions. Then, every time you upload a new video, the platform automatically creates a draft blog post in the background.
You can choose to auto-publish or keep posts in draft form based on your comfort level with letting AI handle the process.
This automation cuts down on repetitive tasks and frees you up to focus on content creation rather than content repurposing.
Step 10: Why I Love Video to Blog and How You Can Start Today ❤️
Here’s what makes Video to Blog stand out for me:
- No timers or forced upgrades — you can experiment immediately after creating an account.
- Custom instructions let me steer the AI’s tone and style — comedic, academic, bullet points, you name it.
- It’s a one-stop solution for repurposing video content without the usual hassle or expense.
- It saves me hours of manual work every week and helps keep Geek Academy’s blog fresh and engaging.
If you want to try it yourself, the link is in the description, and best of all, no credit card is required to start!
Frequently Asked Questions (FAQ) ❓
Can Video to Blog transcribe videos in languages other than English?
Yes! Video to Blog supports a wide range of languages, making it a versatile tool for creators worldwide.
Is the generated blog post SEO-friendly?
Absolutely. The platform includes built-in SEO analysis and optimizes keyword placement, readability, and metadata to boost your post’s search engine performance.
Can I customize the tone and style of the blog post?
Yes, you can enter custom instructions to guide the AI on tone, style, humor, and more, so the post sounds exactly how you want it.
Does Video to Blog support direct publishing to platforms other than WordPress?
Yes, besides WordPress, you can export posts to:
🔌 Supported Integrations
-
YouTube
-
WordPress.org
-
WordPress.com
-
Medium
-
Blogger
-
Ghost.org
-
Wix
-
Shopify
-
Webflow (New)
Is automation reliable for creating blog posts from every video?
While automation works well for most videos, it’s a good idea to review drafts before publishing to ensure everything looks perfect, especially if your video content varies in style or complexity.
Do I need to pay upfront to try Video to Blog?
Nope! You can create an account and start using the tool right away without providing any payment information.
Final Thoughts
Repurposing video content into blog posts doesn’t have to be a tedious, time-consuming chore. With tools like Video to Blog, you can automate transcription, AI copywriting, SEO optimization, and publishing — all from a single platform.
This 2025 guide shows how you can convert long, information-rich videos into engaging blog posts with just a few clicks, freeing you up to focus on creating more content and growing your audience.
Give Video to Blog a try today and see how it transforms your content workflow. Your future self will thank you.
